Demystifying Trail Camera Night Vision – A Spotlight on Infrared Tech
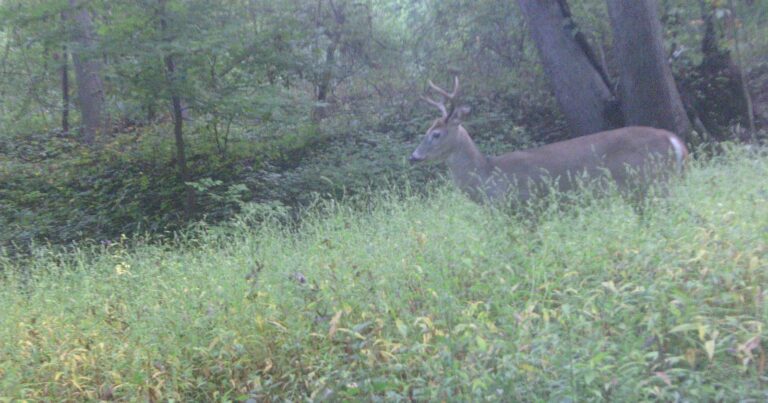
As an avid hunter or outdoor enthusiast, you’ve likely wondered how trail cameras manage to capture clear nighttime footage. It seems almost magical when your camera lights up the darkness to reveal nocturnal critters roaming your property. Fortunately, the night vision capabilities of trail cameras aren’t magic, but proven infrared technologies.
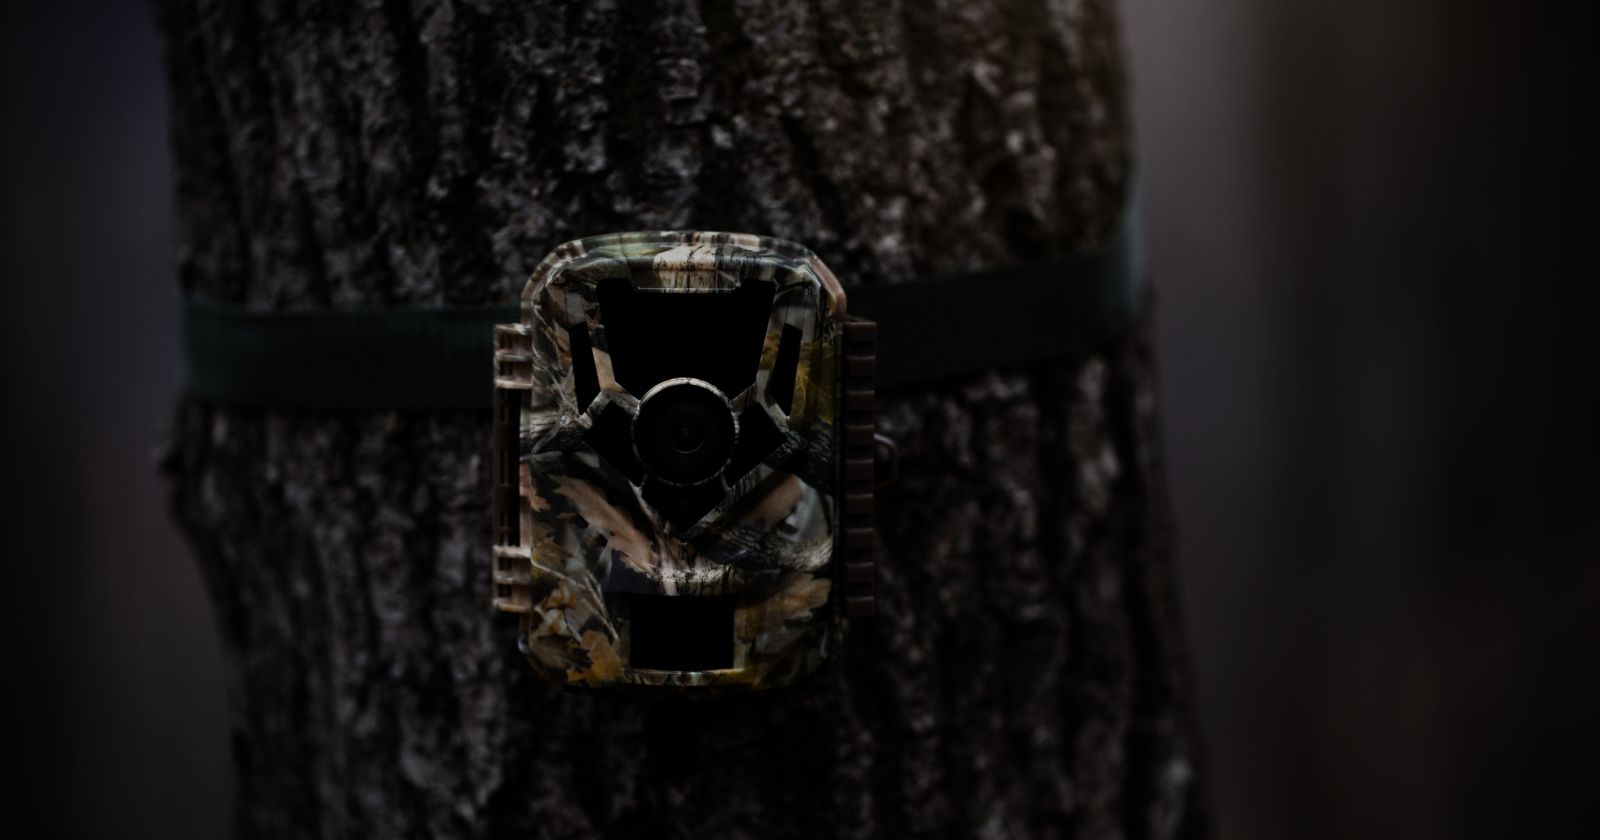
Understanding how your trail camera sees in the dark will help you position and configure it for the very best results. The key is infrared illumination that brightens scenes to the camera sensor but remains invisible to animals and trespassers. Depending on the model, your trail cam can light up subjects 25 meters or more away in the dead of night!
While the image quality might suffer compared to daytime, you can still expect remarkably detailed night footage. And some higher-end trail cameras even have infrared flash to freeze animal movements without disturbing them. Proper aiming and tweaking your camera’s sensitivity and night mode settings will further improve its after-dark performance.
With the right techniques, your trusty trail camera will keep watch over your land even when the sun goes down. Let’s shed some light on how trail cams use infrared technologies to deliver such impressive night vision capabilities. You’ll gain 24/7 visibility into the activity on your property and capture incredible after-dark encounters with local wildlife!
An Overview of Infrared Light and How It Enables Night Vision
Infrared light is electromagnetic radiation located just outside the visible light spectrum. The human eye cannot see infrared wavelengths, but IR energy behaves similarly to visible light. Infrared can be focused, reflected, and captured by camera sensors once converted to an image. This enables night vision capabilities.
Trail cameras use LED infrared lights to illuminate the scene. The camera sensor picks up the infrared energy and translates it into a viewable image or video. The result is clear footage of game, trespassers, or anything else moving through the darkness, up to 60-80 feet away depending on conditions.
Key Advantages of Infrared Trail Camera Technology
- Invisible to animals/humans – Infrared wavelengths are invisible, so IR illumination goes undetected. Game and trespassers are unaware of the camera.
- Clear night footage – Illuminating subjects with IR allows the camera to capture surprisingly detailed footage at night, within the camera’s range.
- Color night images – Some trail cams process infrared images to maintain subject colors even at night for a more natural look.
- Wide nighttime field of view – IR light spreads to widely illuminate the entire frame, instead of just a small spot.
- Low power consumption – LED infrared lights consume much less power than a bright white flash. This extends battery life.
Factors That Impact a Trail Camera’s Night Vision Performance
Several variables influence how well your trail camera can capture night footage:
- Distance – Infrared only reaches 60-80 feet effectively. Subjects farther away will lack illumination and detail.
- Camera settings – Optimizing night mode, IR brightness, shutter speed, and other settings improves night footage.
- Flash range – Cameras with longer and brighter flash ranges can illuminate subjects farther away.
- Lens/sensor quality – Higher resolution trailcams with quality glass lenses and sensors will capture better night images.
- Weather conditions – Rain, fog, and humidity can impact IR effectiveness and range.
- Moon phase – Less ambient light during new moons enhances infrared night vision performance.
Positioning Your Trail Camera to Get Great Night Footage
Since infrared technology has limitations, properly positioning your trail camera is key to quality nighttime results:
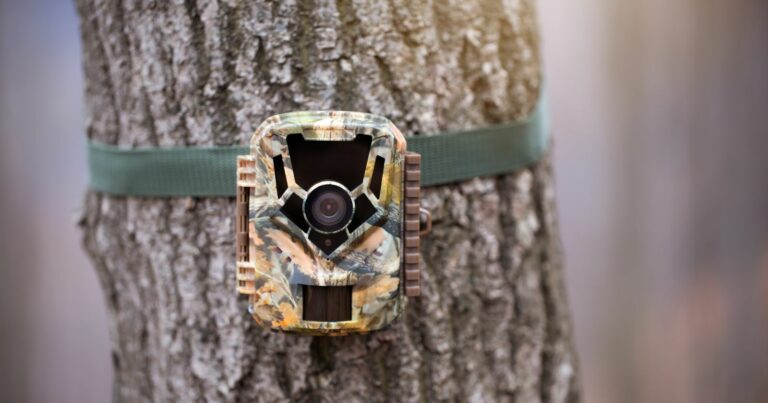
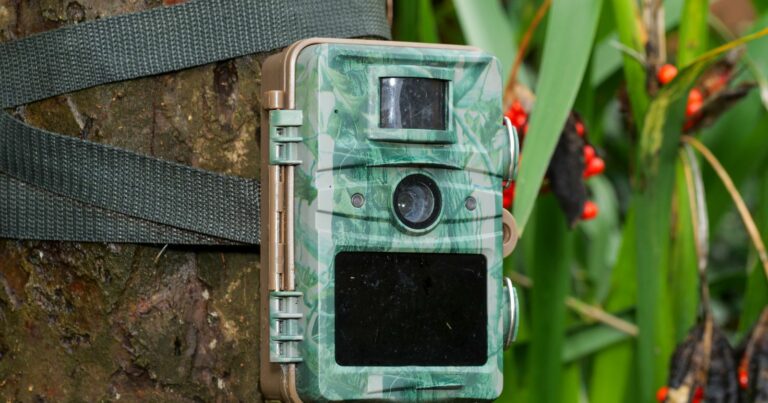
- Mount the camera on a sturdy tree or post about 4-5 feet off the ground angled slightly downward.
- Aim at trails/runways/feeding areas within 60 feet to stay within infrared range.
- Avoid aiming at thick brush or objects that block the infrared light.
- Consider prevailing winds when positioning so subjects aren’t always approaching into the wind and sensing the camera.
- Face the camera north or south to avoid intense sunlight which causes glare.
Recommended Trail Camera Settings for Optimal Night Vision
You can further enhance your infrared trail camera’s night vision capabilities by dialing in the right settings:
Image Resolution – For night photos, choose a resolution of 5MP or higher. Lower resolutions become grainy in low light.
Night Mode – Use night mode for after-dark shots. This leverages infrared and slows the shutter speed.
IR Brightness – Crank up IR brightness to maximize illumination range at night. But not so bright that it overexposes images.
Shutter Speed – Use a slower shutter speed (1/2 second or more) to allow more light capture in dark conditions.
Video Resolution – 1080p or 720p video provides plenty of detail while maintaining good low light sensitivity.
Time Lapse – This mode can create stunning sequences of nighttime scenery changes and animal movements over hours or days.
Additional Tips for Getting Great Results from Your Infrared Trail Cam
- Test your trail camera thoroughly at night before deploying it to ensure you are familiar with its night vision capabilities and limitations.
- Clean the IR lens regularly as dirt buildup can negatively impact illumination range.
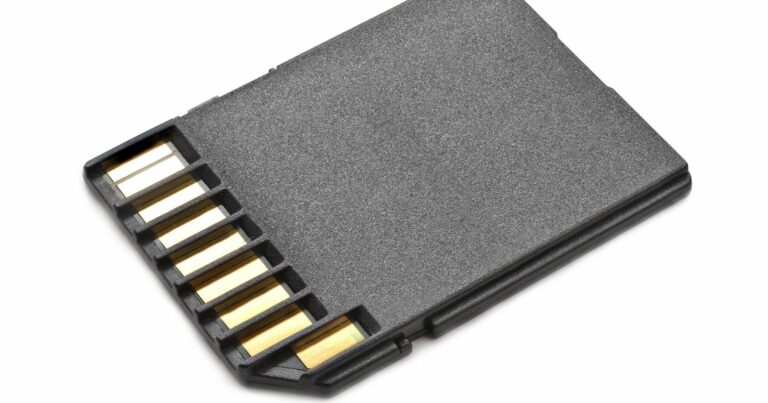
- Use high-capacity SD cards to store plenty of large night footage files. Class 10 cards provide fast write speeds.
- Add an external battery pack if running the IR lights drains batteries quickly. Some cams have a jack for this.
- Consider an additional visible flash if very fast subject movements need to be frozen at night. The flash will be obvious to game though.
- Snoop around at night without a light to get an idea of your camera’s night vision range so you can set expectations.
Key Takeaways on How Trail Cameras Work at Night
- Infrared light enables trail cameras to capture night footage by illuminating the scene invisibly.
- Position cameras within 60 feet of subjects to stay within IR range.
- Adjust night mode, IR brightness, shutter speed and other settings for best low light performance.
- Higher resolution trail cameras with quality sensors produce better night images.
- Weather, moon illumination, distance and obstructions all impact night vision quality.
- Test your camera thoroughly at night to learn its capabilities and limitations for your location.
While night footage is never as consistently crisp as full daylight imagery, trail camera infrared technologies allow amazingly detailed night vision. With a properly positioned camera optimized for low light conditions, you can monitor game movements, protect your property, and document after-dark activities in full darkness. Infrared night vision brings an exciting new dimension to your trail camera capabilities!