How High Should You Mount A Trail Camera?
Over the years, installing surveillance equipment in the home as a security measure was perceived as an intense and costly endeavor to embark on. Nowadays, with the emergence and affordability of technology, not possessing some form of security cameras installed in your home seems like a strange decision to make as a homeowner. Trails cameras among other cameras are made to give you adequate security, however, the big question is: how high should you mount a trail camera?
Trail cameras should be mounted at least head high. With the trail camera high up on a tree or in a distinct place in the home, you can curve it down and heighten the field of view.
Most often than not, one thing that mostly gets neglected when setting up a trail camera is the height. How you mount your trail camera is just as crucial as where you place it. In this article, we will enlighten you with resourceful, valuable, and detailed information on how you should mount trail cameras! Let’s begin.
How high should you mount a trail camera?
One thing that must be put into consideration when putting up a trail camera is the height. Improper mounting is one of the reasons for flops in capturing trail videos and images. Every camera owner hates the disappointment of fetching a trail camera only to find blank shots or blur images. So, it is necessary to get the mounting height right.
However, there is no specific answer when it comes to ascertaining the right height. On one note, you want to have your camera close enough to capture every moment. On the other hand, you don’t want your camera to be noticed.
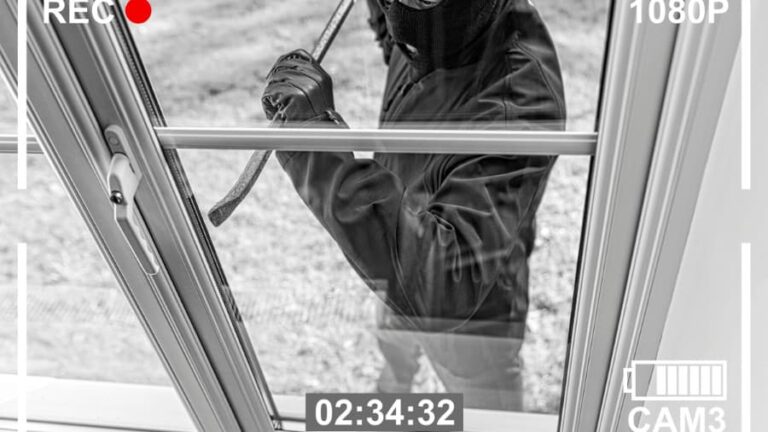
Before you can decide what the right height is, you must first ask yourself what the objective of the camera is. Is it to gather critical data points for hunting? Or do you want the target subject to be caught from a specific angle? Are you trying to unveil or curb theft in your neighborhood?
Each of these objectives will require mounting at different heights. The right height for you will depend on:
What are you looking for?
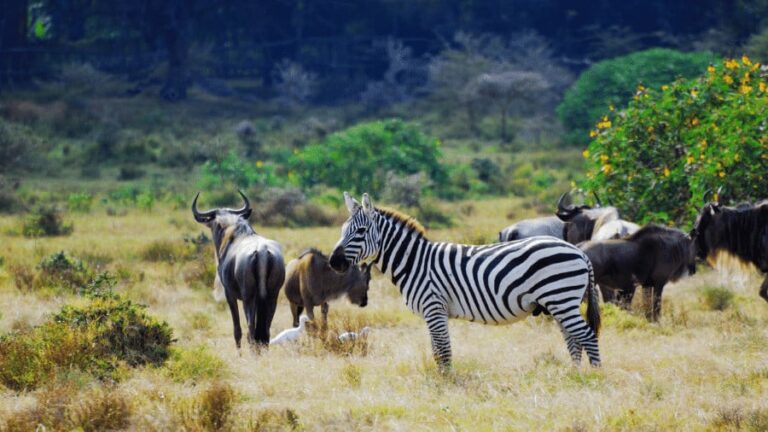
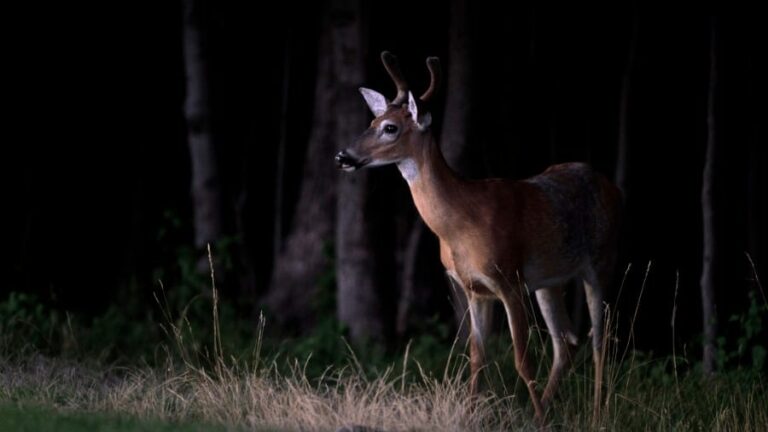
It is advisable to mount your camera 3 to 6 feet off the ground if you are not looking for any animal in particular. For a large subject such as deer (which is one of the most desired catches) a mounting height between 24″ and 30″ works just fine.
Several large animals such as elks can be photographed from a higher level of about 36″ to 45″. However, for people who love small creatures like squirrels and turkeys, a height of about 20″ and below is perfect for the trail camera. Nevertheless, depending on your region and the creature available at the time, you can revise your height accordingly.
What is the detection range of your camera?
Several trail cameras certainly indicate their detection range. Slim and short detection range cameras mostly focus on a certain spot compared to cameras that possess a horizontal wide field of view detection range. To this end, it would be ineffective to climb your camera high up if it has a narrow range.
Security and Camouflage
One thing that you certainly won’t desire is for your target subject to have a feeling of being watched or notice by your camera. This may include humans if you are using the trail camera as a home security camera. The detection will result in them disappearing from the scene or even destroying your camera. For this reason, security and camouflage are very essential. So, the height of the trail camera may be relatively high or low. Get your cameras 9″ to 12″ off the ground and point it at a downward angle.
Moss plants can also be used as camouflage for your camera. They can be found anywhere and will still do a great job even when dry. However, make sure you avoid leaving a scent at the scene. To achieve this, wear gloves as you set up your camera. You can also employ the use of scent spray to eradicate your scent from the trail.
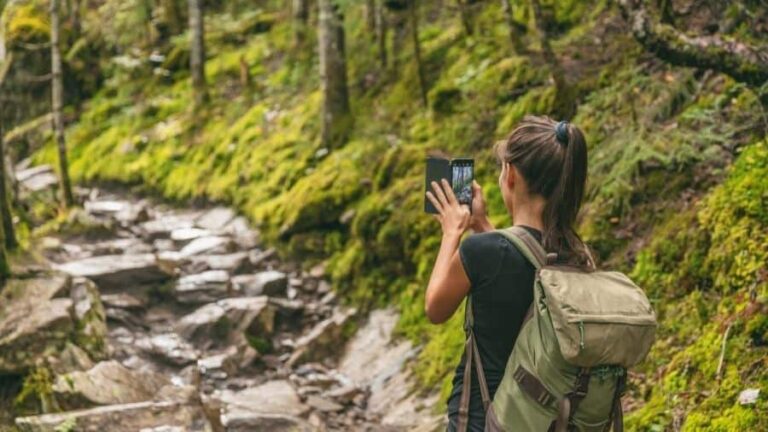
Unnoticed scouting
The objective here is to survey a specific area without any evident or noticeable device. Regardless of the equipment you are using, the whole point is for it not to be seen yet be able to provide hints should an event ever occur.
If you place your camera very high there won’t be a need to worry about it being detected though it might not deliver the needed information. On the other hand, hang it too low and you will probably get the necessary information but it can also be stolen.
It is better to conduct a test of image and video capture and then disguise the device and set it up at a height that will make sure the camera will capture implicating evidence in case anything happens, and be safe as well.
Is the trail sloppy or leveled?
It is quite easy to set up your camera on level ground. Most often than not, level grounds are usually chosen compared to sloppy trails since they are easy to work with. However, in a situation where your target subject is on a sloppy ground, you will have to increase the height of your camera and tilt it in the direction of the slope.
There are two major ways on how high you should mount your trail camera according to the rule of thumb.
Waist High – Mounting the camera at the height of your waist is your best option to get the best results.
Level Aim – Level ground will provide the most straightforward mounting experience and will take the guesswork out of mounting the trail camera on uneven ground.
How do you mount a trail camera on a tree?
Trail cameras are remote pair of eyes that will help you plan a successful hunting season. When it is used properly, it will show you what game moved through your grounds, when they are active, and the path they traveled. However, in order to achieve this, you must master the act of mounting a trail camera on a tree. Here are guidelines on how to set up a trail camera:
Whether you are using one trail camera or 5 of them, both exposure and height have to be gotten correctly. When mounting a camera on a tree it is recommended that you use a good sturdy tree with the camera being about 3ft- 4ft above the ground. This will enable the camera to be at eye level with the game when taking pictures. Ensure all dirt is cleared to avoid any false triggers.
Mounting up a camera 3ft – 4ft off the ground is the perfect option. Nonetheless, this height may expose you to a risk of making your camera accessible to thieves. Therefore, if you are not setting it in a private environment, it would be safe to use a climbing stick to hang the trail camera 10 feet off the ground and angle it down toward the game trail. Cameras to be mounted on public grounds should be better hidden or elevated quite well in other to keep them out of sight and hand.
After determining the right location and height of the camera on a tree, you should also ensure you are getting the best pictures as possible. This implies avoiding lens flare because of interference from the sun. Do not point a camera to the east or west because the sunrise and sunset will blow out the beauty of the image.
How to aim a trail camera
Successfully aiming your camera is another step towards getting great output. The following steps will be helpful:
- The trail camera should be placed at the same level as the target subject’s chest.
- Put into consideration the angle of the land in front of the camera. You will have to set the camera correctly if there is any slope.
- It is advisable to target an area that is roughly 25-35 feet in front of the trail camera.
- Bring the camera down to where the target is expected to be when you mount the camera high.
- Use the Motion Test Feature. Every trail camera possesses a motion test feature. This characteristic helps in aiming the camera at your target area. With the motion test put on, you can walk around your target area. When your presence is discerned, a red LED on the front of the camera will come up. Just press the enter button, the selection will come up. You can also use the up and down arrow in your camera to change the option. Press the enter button to confirm your selection. This will help you ascertain how to aim your target. Ensure you put off the motion test function before you leave the camera on the field.
The proof of your efforts will be in the photos, so endeavor to follow all the above-mentioned steps and you’ll be happy you did.