How to Format SD Card for Trail Camera on Mac
If you’re using a trail camera with an SD card, it’s important to format the card properly so that you get the best performance from the device. In this blog post, we’ll show you how to format an SD card for a trail camera on a Mac. So if you’re ready to get started, keep reading!
How to format SD card for trail camera on Mac?
If you want to format an SD card for a trail camera on a Mac computer, there are a few simple steps you need to follow.
First, open Disk Utility on your Mac. This can be found in the Applications folder, and then Utilities. Once you have Disk Utility open, select the SD card you want to format from the list of drives on the left side of the window. Then, click on the Erase tab at the top of Disk Utility. In the Format drop-down menu, select MS-DOS (FAT) as your file format for the SD card. Finally, click on Erase to format your SD card.
How to find the right SD card?
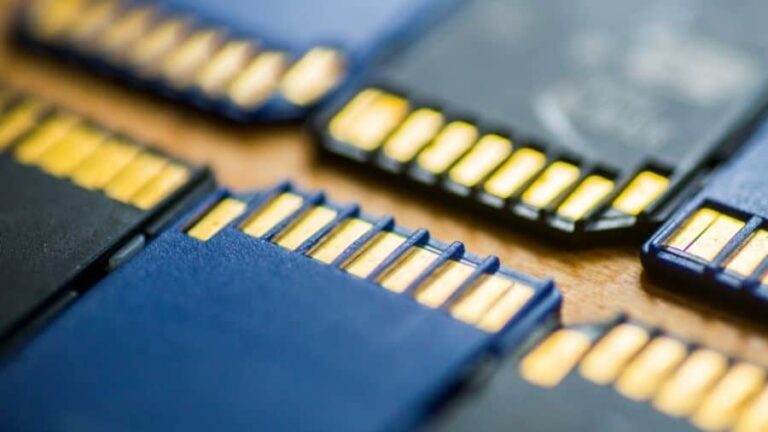
When it comes to trail cameras, you want to make sure you have the right SD card. How do you find the right SD card? Here are a few tips:
- Make sure your SD card is compatible with your trail camera. Some cameras require an SDHC card, while others will work with any standard SD card.
- Consider how much storage space you need on your SD card. Most trail cameras can store several thousand pictures on an SD card, but you may want to get a larger card if you plan on taking a lot of pictures.
- Look for a high-speed SD card if you want to be able to take pictures quickly without having to wait for the camera to save them to the card first. This will allow you to take more pictures in a shorter amount of time.
- Make sure the SD card is reliable and has a good warranty. You don’t want your camera to stop working because of a faulty SD card.
- Consider how much you’re willing to spend on an SD card. There are a lot of different SD cards on the market, and they range in price from around $10 to $200. The more expensive cards tend to offer higher speeds, more storage space, and better reliability.
Check out the Best SD Card Class 10 on Amazon
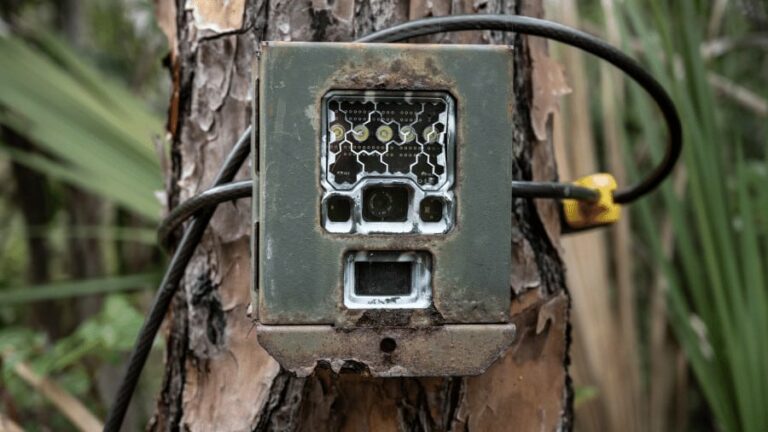
How to set up a trail camera with an SD card
Setting up a trail camera is actually very easy. All you have to do is set the time, date, year, and location on your camera. It’s also important that if the photos are being taken in JPEG format instead of RAW format it’s possible to reduce the file size by adjusting ‘picture quality settings rather than resolution sizes.
Steps for setting up a trail camera with an SD card
- Set the time, date, year, and location
- If photos are being taken in JPEG format adjust picture quality settings instead of resolution settings
- Be sure to take into account storage space and battery power when choosing where and how to place your trail cam!
The purpose of an SD card is to act as a buffer for the trail camera. This means that it will store all of your photos and videos before transferring them to the computer. If you want to make sure this process goes smoothly, make sure that your SD card has enough space on it by formatting the disk properly first.