Reasons Why Your Trail Camera Turns Off
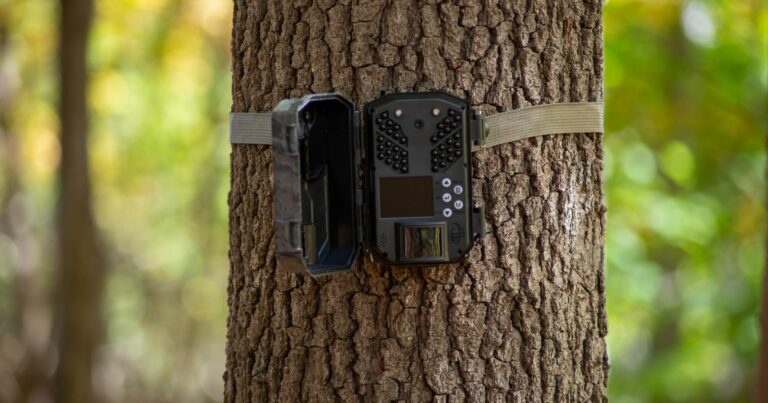
Although trail cameras are a great way to capture wildlife without disturbing them, there are several reasons why your camera might turn off unexpectedly. Drained batteries, the camera getting too hot, and moisture getting into the device are all common causes of a trail camera shutting down.
In this article, we’ll explore each of these reasons and provide tips on how to prevent them from happening.
Why my trail camera keeps shutting off
There are several reasons why your trail camera might turn off, including drained batteries, the camera getting too hot, and moisture getting into the device. In this article, we’ll explore each of these reasons and provide tips on how to prevent them from happening.
Trail camera battery dies
A common reason your trail camera turns off is that the batteries die. If you’re using regular alkaline batteries, chances are they’re not providing enough power to work all night and throughout the day. Rechargeable AA NiMH (nickel metal hydride) batteries last longer than alkaline, but it’s best to use a combination of both types of batteries instead of relying on rechargeables alone.
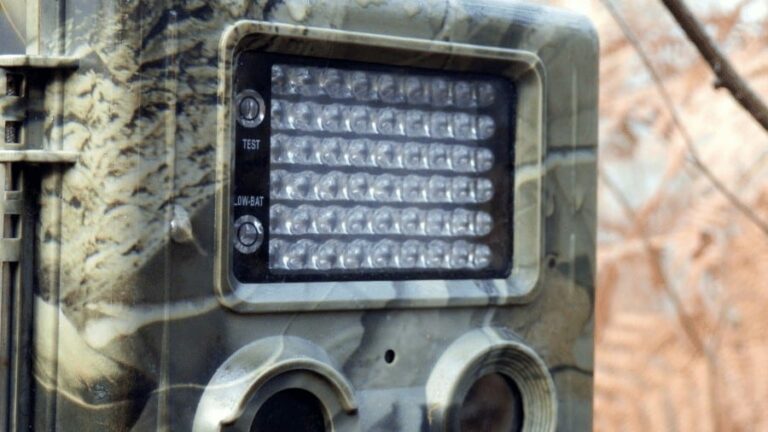
When testing different battery types for our review , we found that several models required specific battery types and sizes in order to operate properly (the Moultrie A-30 being one example). Be sure to consult your owner’s manual before purchasing any new batteries as some cameras have unique requirements.
When choosing a camera, consider a model that has a battery-saving feature. It will shut itself off after a few minutes of non-activity and turn back on when it detects motion. You can also extend your camera’s battery life by using the lock/unlock feature to temporarily disable the screen and infrared flash which use up more power.
Trail Camera gets too hot
When it’s hot outside, the internal temperature of your trail camera can climb quickly as it tries to keep cool. If you’re testing your camera in 90+ degree weather make sure to set it out during early morning or late evening hours when temperatures are cooler. Don’t place a warm camera directly into a metal box – allow it to cool down first so condensation doesn’t build up inside the box.
Moisture damage
It’s a good idea to keep your trail camera in its case when not in use as that’ll protect it from moisture and other elements. However, even if you store your camera indoors make sure there isn’t any standing water where it’s going to be placed since this can lead to problems with condensation later on.
Condensation occurs when a cool object (like a trail camera) meets a warm air pocket or surface . The warmer air creates fog which collects on moist objects like cameras.
When the camera comes back on, drops of water may form along its lens and create blurry photos at best, or ruin the device entirely at worst. Preventing condensation is simple: let your trail camera cool down (so the air inside is the same temperature as outside) before placing it in its box or location. If there’s no standing water where you’re placing your trail camera, you should be fine with just letting it cool down on its own.
Trail camera gets wet
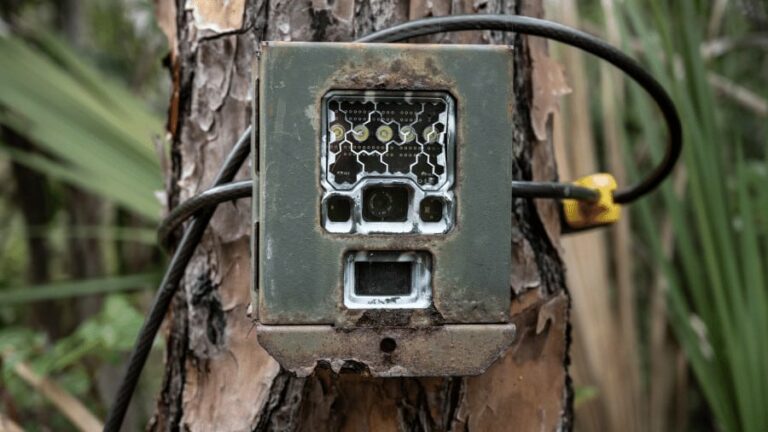
Moisture can also enter a trail camera through fog, rain, snow, dew and even mists . This moisture may get trapped inside your device and cause damage to sensitive components like batteries. This isn’t something that occurs over night either – condensation builds up slowly so if you live in an area that frequently experiences high humidity or around bodies of water then moisture could already be present when you set out your camera next.
It’s important to keep your camera dry by using a moisture barrier when possible. Place it in a well-ventilated Ziploc freezer bag, for example, or use foil or cling wrap to create an enclosure . If you go this route make sure to poke small holes into the covering so moisture can escape.
You could also use rubber bands to attach cheesecloth over your device but be careful not to tighten them too much as that could damage delicate lenses and other components.
If none of these techniques prevent moisture damage then there’s no reason to panic – just keep trying different things until you find what works best for your location . It might take several test sessions before you arrive at something that truly makes a difference so if possible don’t give up on your camera after just one day.
Light leaks
If your camera’s photos always look illuminated try covering it with a dark cloth or piece of paper for several minutes before placing it back in its box. This should allow any light to dissipate so you can go about photographing deer without ruining your images.
Low battery voltage affects night time pictures — even if the camera is turned off during the day . The issue here is that many cameras shut down completely at around 1.5v but by using rechargeable NiMH batteries you can obtain levels as high as 1.8-2v which will prevent this problem from occurring (or reduce it to a minimum).
Memory card errors and other computer problems
If your camera turns off unexpectedly even when it has a full battery then you could have issues with its memory card. Turn the device on and see if any error messages appear in the LCD display (look through different pages if necessary). “No Memory Card” is an obvious problem but you might also encounter something like “Cannot Record Picture”.
If the camera seems to freeze up, try removing its batteries and SDHC memory card before restarting it. Format your memory cards (in the SETUP menu) whenever you add new ones since older ones may not be compatible with your trail camera. You can also clean your SDHC cards by inserting them into a computer and formatting them from there as well.
If your cameras turns off shortly after being turned on then this could be due to a corrupted file on the memory card. Your camera’s battery should reset these errors but you can also try cleaning your SDHC cards with a soft brush, pencil eraser or cloth before putting them back into the SD slot. A complete format is a good place to start since it wipes out all data — set this up by going to SETUP > FORMAT MEMORY CARD .
When it comes to computers make sure yours isn’t overheating – check your fan for obstructions and ensure that you have proper ventilation around your computer if necessary. If nothing helps then try restarting your or removing/replacing any USB devices that might be connected to it.
Trail camera turns off randomly / Camera resets every so often
If your device only shuts down and restarts when you first turn it on then this could indicate a problem with its power supply — possibly a partially drained battery or problematic power cord. Try turning the camera on remotely if possible by plugging it in but not activating anything until after 30 seconds have passed. If it works properly (and stays on) then you’ll need to replace your power cord pr try charging your batteries for longer periods of time .
If the camera works fine externally but still turns itself off after several minutes then bad batteries are probably the cause – try swapping them out with brand ones . Unfortunately, there isn’t much you can do if your camera is turning off itself after a certain period of time has passed since this problem most likely lies with its internal firmware.
This is true for most trail cameras and not an isolated case with a specific brand or model. If this happens then you most likely need to seek professional assistance in order to prevent it from happening again.
Battery problems
If there’s nothing wrong with your batteries (or power cord) causing the camera to shut down then the issue lies within its circuitry. The first thing that needs to be determined is why your device does not turn on — if it doesn’t even light up when you press the green button then you still have options . Try connecting your camera directly to solar power. If it starts working then the issue is most likely with your batteries.
You should also check that you have selected the appropriate video mode on your camera before turning it on — if, for example, you’ve accidentally selected Multi-Shot Burst then this will lead to a problem where it doesn’t save pictures .
If changing batteries and adjusting settings doesn’t work then there’s a possibility that something has gone wrong with your device’s circuit board or installed memory card. You can attempt to replace these components by yourself but we recommend that you send the entire trail camera in instead (if possible) since they’re typically harder to install than regular SD cards and batteries which fail less often than faulty circuitry.
There are a number of reasons why your trail camera might be turning off. These include problems with the memory card, corrupted files, computer overheating, battery drainage or firmware issues. If you’ve tried all of the solutions mentioned and your camera is still not working properly then it’s best to seek professional help.
In most cases Trail Camera turn-offs can be prevented by formatting memory cards regularly, cleaning SDHC cards before use and making sure that your computer is in good condition.
Remember that improper care will likely cause you more problems than just a camera that turns off once in a while.