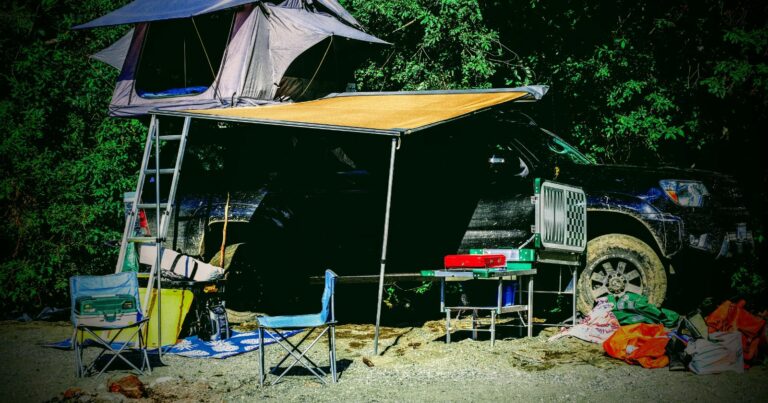
Struggling to Connect Your Coleman Propane Cylinder? Let Me Help!
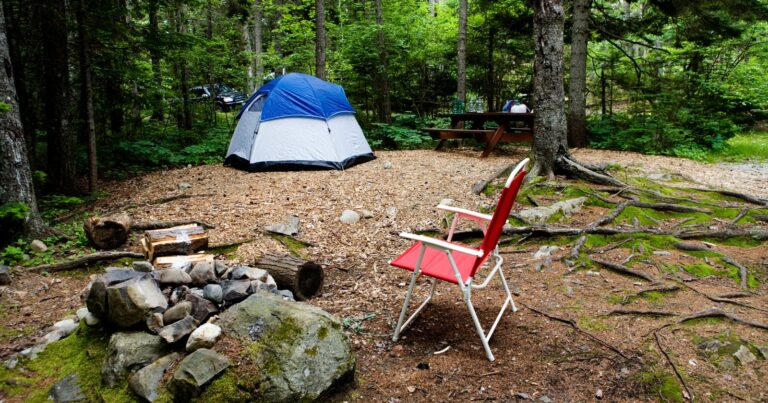
Struggling to get your camp stove lit? You’re not alone. Attaching those Coleman propane cylinders can be tricky if you don’t know what you’re doing. But don’t worry, I’ve got your back. With just a few simple steps, you’ll have your morning coffee brewing or dinner sizzling in no time.
First things first, make sure to remove the cap from the cylinder before attaching it. This may seem obvious, but it’s an easy mistake when you’re eager to get cooking. Next, check that the cylinder is actually compatible with your Coleman device. They’re designed to work together, but it never hurts to double check.
Okay, now locate the connection point on your stove or lantern. It’s typically a threaded valve. Carefully line up the cylinder’s threads with the valve threads and screw it into place. Tighten by hand, but don’t overdo it! You don’t want to strip any threads here.
The final step before lighting up is to check for leaks. Put some soapy water on the connection point and look for bubbles. Bubbles mean you’ve got a leak that needs fixing before using your device. If all looks good, you’re ready for s’mores and campfire tales! Just be sure to follow all safety tips and manufacturer guidelines when handling propane.
Alright, now that you’re a pro at attaching those Coleman cylinders, you can relax at your campsite. No more propane frustration for you! Let me know if you have any other camp cooking questions. I love talking camping and helping fellow outdoor lovers master the gear. Happy trails!
Step 1: Remove the Cap
Before you attempt to attach your Coleman cylinder to the stove or lantern, make sure to remove the cap. This may seem obvious, but it’s easy to forget in the excitement of setting up camp. The cap needs to come off fully in order for the cylinder to connect to the device.
Step 2: Check Compatibility
Not all propane cylinders are made equal. Coleman cylinders are designed specifically to work with Coleman camping equipment. Double check that the cylinder you have is compatible with your Coleman stove or lantern model. There should be sizing information on both the tank and device to help verify this. Using an incompatible cylinder is unsafe.
Step 3: Locate the Connection Point
Coleman stoves and lanterns have a designated connection point for attaching the propane cylinder. This is typically a threaded valve made to accept the cylinder nozzle. Refer to your device’s manual if you’re unsure where the connection point is located. It’s essential that you attach the cylinder properly to this coupling valve for safe operation.
Step 4: Line Up the Threads
Here is the most critical (and often most confusing) part of connecting the cylinder. You must align the cylinder’s threads precisely with the threads on the device coupling valve. The threads must match up perfectly in order for the seal to be tight. Take your time getting them properly lined up before attempting to screw it in.
Step 5: Screw in the Cylinder
Once the threads are perfectly aligned, begin gently twisting the cylinder clockwise to screw it into place. Go slowly and double check that the threads continue to line up as you turn it. Do not force the cylinder if it won’t turn easily – realign and try again. Patience here prevents propane leaks.
Step 6: Tighten by Hand
When the cylinder is partially connected, you can finish tightening by hand. Use caution not to over-tighten. The seal only needs to be finger-tight. Overtightening can damage the valve or cylinder threads. Give the cylinder a gentle turn and stop once it is snug in place.
Step 7: Test for Leaks
Before using your Coleman stove or lantern, always check for leaks. You can test by spraying soapy water onto the cylinder’s connection point. If bubbles appear, there is a leak, and you must disconnect and reattach the cylinder. Perform this safety check every time you connect a cylinder.
Helpful Tips for Attaching Coleman Propane Cylinders
Follow these pointers to make attaching your Coleman propane cylinder quick and easy:
- Read the instructions – your device manual has guidance specific to that model. Follow it closely.
- Check O-rings – ensure the cylinder O-ring is present and undamaged. This helps prevent leaks.
- Start threads manually – initially turn the cylinder by hand when starting the threads.
- Go slow – rushing the process often leads to mistakes and propane leaks.
- Listen for the hiss – you should hear a hiss sound when first opening the cylinder valve.
- Consider an adapter – adapters can help fit different cylinder thread sizes.
Why Proper Attachment Matters
Attaching your Coleman cylinder correctly isn’t just about convenience. It’s absolutely crucial for safe operation of your camping equipment. Propane is highly flammable and potentially hazardous if handled improperly. A loose connection or damaged threading can cause leaks, explosions, or fires. Take the time to attach cylinders properly every single time. Don’t let the excitement of cooking a meal distract you from best safety practices when using propane.
Follow Manufacturer Guidelines
Coleman camping equipment comes with complete instructions and safety notices related to propane cylinder use. Always follow the manufacturer guidelines provided with your specific models. They’ll offer details not covered here and proper procedures for your devices. Some key tips they emphasize include:
- Never overfill cylinders beyond recommended capacity
- Check for damage/wear on cylinders before attaching
- Ensure adequate ventilation when using propane devices
- Store cylinders safely and away from heat/flames
- Handle cylinders carefully to avoid falls/damage
Don’t take shortcuts when it comes to propane safety! Following the steps outlined here and in your owner’s manuals will keep you safe and enjoying the convenience of propane cooking under the stars.
Ready to Master Coleman Propane Cylinders?
Attaching Coleman propane cylinders is quick and easy with the steps I’ve outlined here. In no time, you’ll be a pro at getting your camp stove fired up to cook meals just like you do at home, but under the beautiful open sky!
Of course, I’m always available to answer any other camp cooking or outdoor living questions you may have. Feel free to contact me or reference my [other camping tips] if you need guidance on using Coleman products and enjoying your adventures. Stay safe and cook on!
FAQs
FAQ 1: What size Coleman propane cylinder should I get?
Coleman offers propane cylinders in several sizes including 8oz, 14.4oz, and 16.4oz. The best size depends on your specific Coleman device and how long you need it to run on a tank. Consult your product manual to determine the right propane cylinder size.
FAQ 2: How can I tell if my Coleman cylinder is empty?
If your stove or lantern flames start to burn smaller or die out, the cylinder is likely empty. You can also weigh a cylinder on a scale to get a rough estimate of how full it is before attaching it. An empty 16.4oz cylinder weighs about 1 lb.
FAQ 3: Why does my stove not light even though the cylinder is attached?
Double check that the cylinder valve is fully opened after attaching it. You may need to give the valve a slight turn counter-clockwise. Also check that the igniter button or switch is being fully depressed. Hearing a hissing sound means propane is coming out.
FAQ 4: What if I can’t get the cylinder threaded properly?
Sometimes the threads get slightly damaged. Use an adjustable wrench to gently realign the cylinder threads before reattaching it. An adapter can also help connect cylinders and stoves with mismatched threads.
FAQ 5: Is it safe to transport Coleman cylinders in my car?
Yes, as long as they are properly secured upright and away from heat sources. Never leave propane cylinders loose in your vehicle or stored in very hot/cold conditions. The cylinders are designed for transport if handled carefully.