Setting Up a Lightweight Backpacking Stove – A Step-by-Step Guide
Cooking delicious meals in the great outdoors is one of the best parts of camping. But hunching over a finicky campfire or bulky propane stove can be a literal pain in the neck. That’s where lightweight backpacking stoves come in handy.
These compact, portable stoves offer an easier way to cook in camp while keeping your pack weight down. With just a few quick steps, you can set up a simple canister stove to heat water for coffee or cook up trailside fajitas and more.
This article shares tips for choosing, setting up, and using lightweight stoves to make camp cooking a breeze. You’ll learn proper stove placement, fuel canister connection, ignition, flame adjustment, and safety measures.
With a reliable stove that’s quick and easy to operate, you can focus on making delicious backcountry cuisine instead of fiddling with gear. Cook, eat, and get back to enjoying the serenity of nature faster with a properly set up lightweight stove. Let’s get cooking!
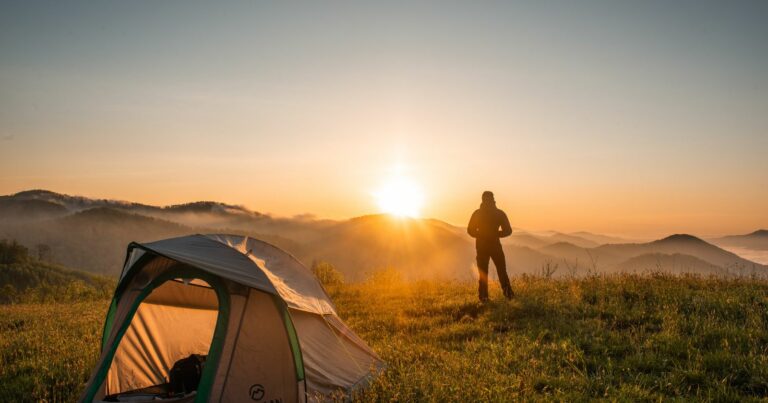
Choose an Appropriate Campsite
Carefully consider location when setting up your lightweight stove, looking for:
- Adequate clearance from flammable materials like trees or brush. Give yourself a safety buffer.
- A flat, stable surface for the stove to sit on. Avoid tipping or spilling.
- Good ventilation to allow combustion and dissipate emitted gases.
- Protection from wind which could disrupt stove performance. Use natural barriers or create a wind break.
Taking a little extra time to find the right campsite sets you up for safe and successful stove usage.
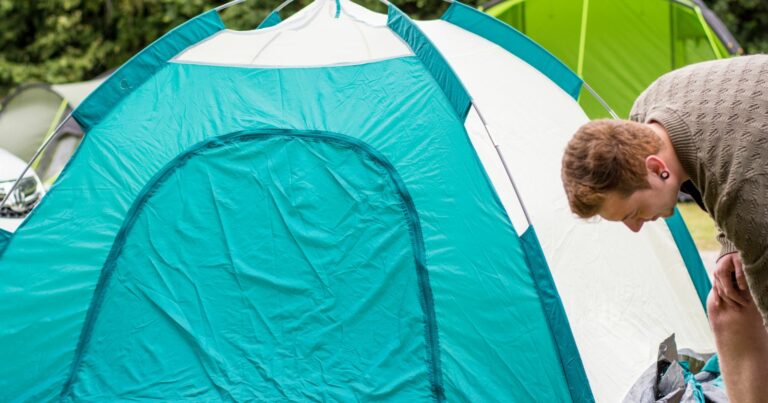
Set Up Your Tent First
It’s good practice to get your shelter situated before dealing with cooking gear. Make sure your tent is:
- Pitched on level, durable ground and staked properly.
- Oriented strategically based on sun/shade patterns and wind direction.
- Free of debris, rocks, or sticks inside that could damage its floor.
With your housing secure, you can focus on setting up the stove without worrying about losing daylight or impending storms.
Gather All Necessary Supplies
Before setting up your stove, collect:
- The lightweight stove itself. Options like the MSR Pocket Rocket are highly portable.
- Fuel canister(s) with adequate fuel for your expected usage. Common canisters hold 4-8 ounces.
- Lighter or matches to ignite the stove. Waterproof matches are a smart choice.
- Pot, pan, kettle or other cookware to use on the stove.
- Plates, cups, utensils for cooking/eating.
Having everything in one spot prevents disruptive searches for missing items.
Review Stove Instructions
Every make and model of backpacking stove operates a little differently. Before your trip, thoroughly read the provided instructions to understand:
- Overall stove setup, ignition, flame control, and shut down procedures.
- Proper connection points and installation of the fuel canister.
- Usage guidance, troubleshooting tips, and safety notices.
- Storage, cleaning, and maintenance recommendations.
Following the manufacturer’s specifics helps you safely and optimally run your stove.
Select a Stable, Level Placement
On arrival at your selected campsite:
- Find a flat, hard-packed surface on which to place the stove.
- Clear away any loose rocks, twigs, or debris.
- Make sure the ground is as level as possible – avoid tipping.
An uneven or shifting surface could cause stove instability and potential fuel leakage or flare-ups. Take a minute to create a proper foundation.
Position the Stove Securely
Once you’ve prepped the site, carefully place the lightweight stove:
- In the center of the cleared, level area.
- With its controls oriented safely away from tent walls.
- In a stable, tipped-proof arrangement unlikely to slide or shift.
Proper ground placement prevents the stove from toppling and keeps the controls easily accessible while cooking.
Connect the Fuel Supply
Attach the stove’s fuel canister according to the manufacturer’s instructions:
- Verify the canister is filled with adequate fuel for your trip length.
- Inspect o-rings and connectors to ensure they’re clean and intact.
- Seat the canister into the stove receptor. Turn to lock it per directions.
- Check that the fuel line is securely fastened from canister to stove burner.
- Confirm there are no leaks before proceeding. Tighten or realign if needed.
A mistake here could lead to stove malfunction or hazardous fuel leakage. Take care to properly join the components.
Ignite the Stove
Time to start the flame! Refer to your owner’s manual for model-specific steps:
- If needed, open the stove’s control valve to allow fuel passage.
- Hold an igniter or match at the burner. Apply flame for 10-15 seconds.
- If the burner doesn’t light right away, close valve, allow gas to dissipate, and retry.
- Once lit, remove igniter/match and keep hands/hair away from the burner area.
Patience is key – give the ignition time to work before reattempting.
Adjust the Stove’s Flame
After ignition:
- Gradually turn the stove’s control knob or valve to adjust flame size.
- Start on low to prevent flaring up. Heat water slowly at first.
- Once heated, turn up flame if desired to boil water faster or simmer food.
- Monitor flames and temperature. Adjust up or down as needed.
Get a feel for your stove’s settings. This allows precise heat regulation when cooking.
Cook Up a Delicious Meal
With your stove prepped, it’s finally time for the fun part – making a tasty trailside meal!
- Place your cook pot, pan or kettle securely on the stove’s platform.
- Add your ingredients and desired amount of water or oil.
- Bring to a boil, reduce to a simmer, and cook according to recipe.
- Keep an eye on food to avoid scorching, stirring occasionally.
- Add ingredients at proper intervals for best results.
Enjoy the convenience of hot food and drink with your perfectly set up lightweight stove!
Shut Off Stove When Finished
After cooking your meal:
- Turn the stove’s valve fully clockwise to off position.
- Extinguish any lingering flames or embers.
- Detach the fuel canister per manufacturer instructions.
- Let the stove cool fully before handling to pack up.
Proper shutdown keeps the stove safe between uses. Fuel canisters can be reattached later for further cooking.
Practice Safe Setup and Usage
To safely operate your lightweight backpacking stove:
- Position away from tent walls and flammable materials.
- Angle pot handles away from edges.
- Keep stove area clear to prevent tripping into flames.
- Have water and fire mitts on hand in case of flare-ups.
- Monitor flames and food closely to prevent scorching.
- Know how to quickly extinguish the stove and fuel supply if needed.
With proper setup and precautions, these stoves cook up meals easily with minimal fuss or risk.
Enjoy the Lightweight Luxury
An ultralight stove allows you to cook satisfying backcountry cuisine without extra weight. Follow these tips for choosing a site, prepping your stove, connecting fuel, adjusting flames, cooking, and shutdown. In no time, you’ll be an expert at setup to become a trailside gourmet chef!