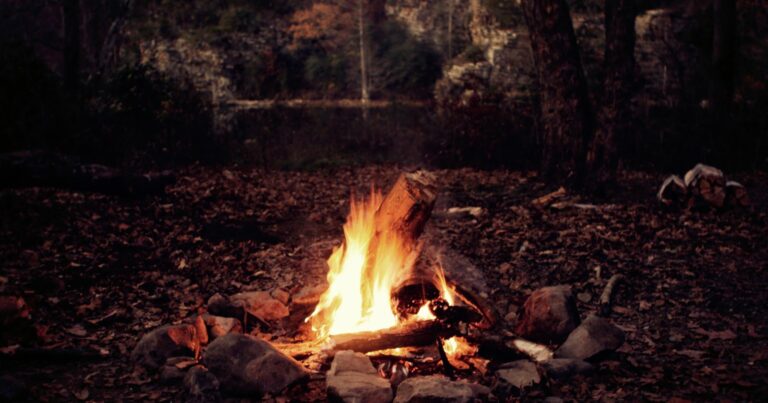
How to Clean a Campsite Grill Thoroughly
The savory smell of food cooking over an open campsite grill is one of the simple pleasures of outdoor living. But few things can ruin your next meal faster than trying to cook on a dirty grill covered in burnt food remnants and greasy buildup. Not only is biting into charred debris unappetizing, cooking on a grimy grill can be downright unhealthy.
While it may be tempting to ignore the grit and char from your last barbecue session, taking time to properly clean your campsite grill ensures tasty meals every time. With a few simple steps and some basic supplies, you can have your grill looking brand-new and ready for your next camping trip feast.
The cleaning process is straightforward – all it takes is some elbow grease. Start by heating up the grill to burn off debris. Then get scrubbing with a trusty grill brush and some soapy water or vinegar solution. Give it a good rinse, let it dry, and voila – your grill will be sparkling clean!
Don’t let past camping ghosts of burnt hotdogs and So now let’s get into the nitty gritty details of how to make your campsite grill shine like new with minimal effort. Your tastebuds will thank you.
Why It’s Important to Clean Your Camp Grill
Cleaning your camping grill regularly is crucial for several reasons:
- Removes burnt, stuck-on food residue that ruins taste
- Prevents bacteria growth from grime buildup
- Allows proper airflow for effective cooking
- Increases longevity by preventing rust and decay
- Makes grill visually appealing for guests and campground staff
- Improves safety by reducing risk of flare ups or uncontrolled fires
So don’t ignore a dirty grill just because you’re camping – a quick cleaning after each trip or before storing will keep your grill in prime condition.
Supplies Needed
Gather the following tools and cleaning agents before getting started:
- Grill brush or wire scrub brush
- Metal scraper (for stubborn spots)
- Clean cloths or paper towels
- Warm water
- Dish soap, degreaser, or all-purpose cleaner
- Stainless steel cleaner (if stainless grill)
- Garden hose with spray nozzle (for rinsing)
- Oven mitts or gloves
Step 1 – Heat the Grill
Turn your campsite grill to high heat and close the lid. Allow the grill to heat up for 10-15 minutes. This serves several purposes:
- Burns off dried food debris
- Loosens grease and oils
- Kills bacteria
- Dries surface for better scrubbing
Heating first makes cleaning much easier compared to scrubbing a cold grill.
Step 2 – Scrub the Grates
Once heated, use a grill brush or stiff wire brush to scrub grill grates. Apply firm pressure and scrub back and forth. Focus on areas with built-up carbon or debris.
Make sure to scrub both the tops and undersides of grates. Over time, grime collects underneath, so flipping grates is key for a deep clean.
Step 3 – Use Cleaning Solutions
If grime still persists after scrubbing, try using cleaning solutions:
Baking Soda – Make a paste with water and spread over grates. Let sit 5 minutes before scrubbing. Helps break down oils.
White Vinegar – Spray over grates and let sit briefly. Vinegar dissolves grease.
Degreasing Cleaner – Use a store-bought degreaser and let soak per instructions. Removes stubborn grease.
Dish Soap – Add a few drops of soap to warm water in a bucket. Dip brush and scrub. Helps lift residue.
Steel Cleaner – For stainless steel grills, use a specialized steel cleaner for a streak-free shine.
Rinse any solutions off thoroughly after applying. Never use abrasive scouring pads.
Step 4 – Rinse the Grates
Once all visible debris is removed, use a garden hose on jet spray setting to thoroughly rinse grill grates. Check for any remaining particles.
For portable grills, place grates in a bucket of clean water and rinse. Dry with a cloth.
Step 5 – Dry the Grates
Finally, allow grill grates to completely air dry. Wipe down stainless steel or enameled grates to prevent water spots.
Never put away grates wet, as moisture fosters rust and mold.
Full Grill Cleaning
While grill grates take the most abuse, also clean other components:
Grease Tray – Remove tray and dispose of grease. Clean tray with soap and water.
Burners – Use a toothbrush to gently clean clogged burner ports.
Interior – Wipe inside of grill lid and body with a cloth and degreasing cleaner.
Exterior – Wipe down outside surfaces. Use stainless steel polish on stainless models.
Post-Cleaning Care
After cleaning your campsite grill, follow these tips to protect it between uses:
- Apply a light coating of cooking oil to grates
- Cover grill to protect from elements
- Store cleaned grates in plastic bag until next use
- Discard excess grease instead of saving
- Check burner connections are tight
- Inspect for any cracks or damage
Keep all surfaces clean and dry. Address any issues promptly.
Set Yourself Up for Success
The key to easy grill cleaning is maintaining it all season, not just doing a major overhaul once it’s filthy. Follow these habits for grill cleaning success:
- Do a quick scrub after each camping trip
- Clean thoroughly before extended storage
- Use grill covers and grease catchers
- Repair damage right away
- Remove grease and debris routinely
- Don’t let grime build up
With the right techniques and tools, you can keep your campsite grill in prime cooking condition all season long. Just dedicate a little time to regular care. Get ready for great tasting grilled foods every night under the stars!