Get Clean and Refreshed with the Perfect Camp Shower Setup
Roughing it in the great outdoors is one of life’s greatest joys. However, after a few days without a proper shower, you can start to feel pretty grimy. A refreshing wash can make all the difference when you’re camping or hiking for an extended period. Setting up a portable camp shower sounds easy enough, but it does take some preparation and know-how to do it right.
In this post, I’ll walk you through the complete step-by-step process for setting up a camp shower. You’ll learn how to pick the perfect spot, set up your shower, warm the water, and use it responsibly so you can enjoy a revitalizing wash without damaging the environment. With these tips, you’ll be able to set up a simple and effective shower at your campsite.
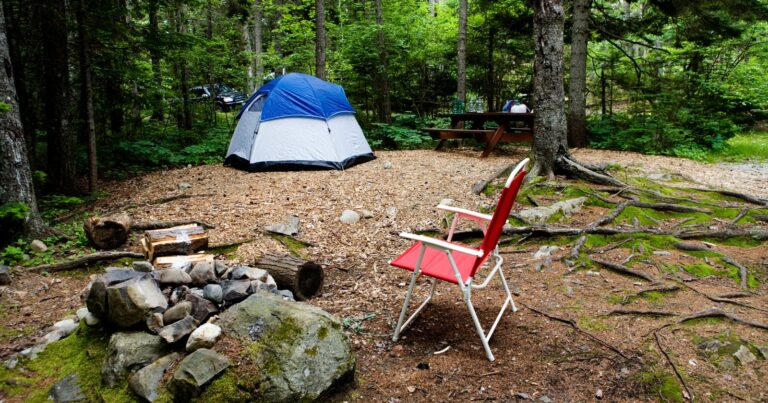
The first thing you need to do is scout out an ideal spot to set up your portable shower. Look for a flat, clear area close to your tent and near a water source. This will make filling and using your shower much easier. The spot should be open to sunlight if you are using a solar shower that needs to warm up.
Once you’ve found the perfect shower site, it’s time to set up. If you have a hanging portable shower, hang it securely from a tree branch or shower stand using the attached straps. Try to hang it at about shoulder height for the best experience. If you’re using a shower tent, unfold it and securely stake down all the corners.
Now you need to fill your shower and give the water time to warm up. If your portable shower has its own tank, fill it with water. You can also fill a bucket and use it to fill canvas shower bags. Solar showers will heat best if placed directly in the sun. Showers with water heaters will take some time to warm up once filled.
While waiting for your shower water, set up a standing mat or tub underneath to keep your feet clean and prevent runoff. Get your biodegradable soap and shampoo ready to go. Once the water has had time to heat up, you’re ready for an invigorating open-air wash!
Follow these steps properly and you’ll have access to a refreshing shower pretty much anywhere. Just be sure to use environmentally friendly products and dispose of wastewater appropriately after. Setting up a great camp shower is easy with the right prep and gear. Get out there, get dirty, and then get clean with an amazing portable shower!
Choose the Right Portable Shower for Your Needs
The first step is picking out the right portable shower setup for your situation. Here are the main options to consider:
Solar Showers
Pros:
- Environmentally friendly
- Uses free heat from the sun
- Simple to use
Cons:
- Need full sun to warm up
- Can take a few hours to heat water
- Limited water capacity
Propane Showers
Pros:
- Heat water quickly
- Adjustable temperature
- High water capacity
Cons:
- Requires propane
- Bulkier and heavier
Battery-Powered Electric Showers
Pros:
- Fast water heating
- Consistent temperature
- Compact size
Cons:
- Requires battery power
- Limited capacity
- Pricier
Gravity-Fed Showers
Pros:
- No power required
- Simple setup
- Low cost
Cons:
- No temperature control
- Water flow can be slow
- Need elevated water source
Consider which features are most important for your situation – speed, warmth, capacity, environmental impact, weight, etc. This will help narrow down the best type of shower to meet your needs.
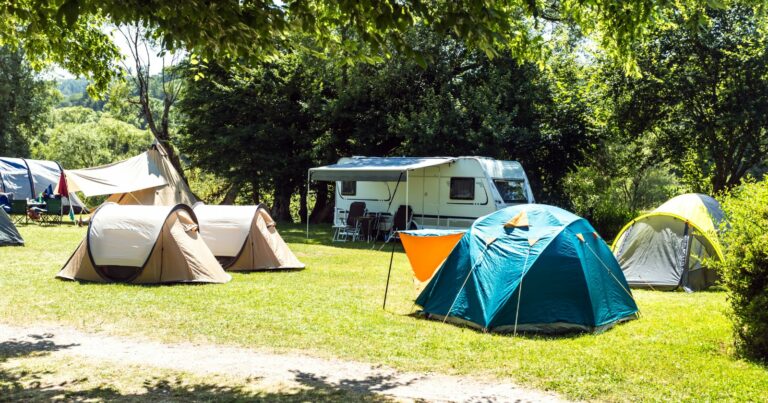
Scout the Perfect Camp Shower Location
Once you’ve selected your camp shower, it’s time to find the ideal setup location. Here are the key factors to look for:
- Flat, clear area – Choose a spot that is flat and free of rocks/debris that could damage your shower.
- Near water source – Pick a site close to your water supply to make filling easy.
- Sunlight access – If you have a solar shower, make sure to pick a sunny spot.
- Privacy – Find an area away from high traffic areas for privacy.
- Shower floor – The ground under your shower should be natural materials like sand or bare dirt that won’t get too mucky.
Ideally find a spot sheltered from the wind and rain when possible. Also check the direction of the sun and choose a spot that will get sunlight throughout the day if using a solar model.
Set Up Your Portable Camp Shower
With your spot selected, it’s time to set up your shower:
Hanging shower:
- Hang securely from tree branch or portable stand using straps/hooks.
- Adjust to around shoulder height for best use.
Shower tent:
- Unfold tent and stake down all 4 corners tightly.
- Follow specific setup directions for your model.
Gravity-fed shower:
- Hang water bag from high branch or stand.
- Position shower head below the bag.
Propane shower:
- Attach shower head and hose to propane unit.
- Make sure propane canister is connected properly.
Fill the Water Reservoir
Now it’s time to fill up your shower’s water tank, bag or reservoir:
- For hanging/tent showers use a bucket to manually fill.
- Some models have a built-in tank to fill.
- Gravity-fed systems require hanging pre-filled bag.
- Follow water capacity for your model – don’t overfill.
Most portable showers hold 1-5 gallons of water. Fill your shower with water each time before using – don’t try to store water inside for long periods.
Heat Things Up
Heating your shower water makes the experience much more refreshing:
Solar shower:
- Lay shower bag in direct sunlight for 1-3 hours.
- Can help to warm the bag in a bucket of hot water first.
- Face dark side of bag toward sun.
Propane shower:
- Turn on propane burner per product instructions.
- Wait for 30-60 minutes for full heat.
- Keep propane canister nearby to adjust as needed.
Electric shower:
- Turn on heating element and wait 15-30 minutes to warm water.
- Make sure battery has full charge beforehand.
Add a Foot Mat for Comfort
Stepping in mud during your shower can quickly negate the refreshing benefits. Set up a standing pad or small tub under your shower:
- Use a removable outdoor mat or standing pad.
- You can also use a plastic tub.
- This keeps your feet clean of mud and grass.
Having a dry place for your feet makes the shower experience much more comfortable. It also contains water runoff in one place.
Shower Responsibly
When using your camp shower, be sure to follow Leave No Trace principles:
- Use biodegradable, environmentally friendly soaps and shampoos.
- Avoid getting soap or shampoo in lakes and streams.
- Pour out wastewater at least 200 feet away from water sources.
- Do not put anything down shower drains besides water.
- After showering, use a towel to dry off as much as possible.
- Pack out any shower supplies when leaving your site.
Following these guidelines allows you to enjoy a shower without contaminating the surrounding environment.
Troubleshooting Common Camp Shower Issues
Setting up a portable shower is pretty straightforward, but occasionally issues can arise. Here are some common problems and solutions:
Not warm enough – Try moving to direct sunlight, preheating water, or waiting longer.
Low pressure – Clear any showerhead clogs, raise hanging shower higher, or use larger holes in gravity-fed shower.
Leaking – Tighten all connections, patch holes with waterproof tape.
Shower slipping – Reposition for optimal support, tie stabilizing guy lines.
Battery not lasting – Charge battery fully and turn off shower when not in use.
Propane malfunction – Check propane canister connection and burner for obstructions.
FAQs About Setting Up a Camp Shower
Q: How do I heat water for my camp shower without electricity or propane?
A: One of the best options is to use a solar shower. Simply fill the shower bag and lay it in direct sunlight for 1-3 hours. The sun’s rays will heat the water inside the bag.
Q: What should I look for when choosing a spot to set up my shower?
A: Look for a flat, clear spot near a water source and with access to sunlight if using solar power. Also make sure it has privacy and is on a natural surface like sand or dirt to prevent excess mud.
Q: What can I do if my water pressure is too low in my portable shower?
A: Try hanging your shower higher, removing any kinks in the hose, clearing shower head clogs, or making the holes bigger in a gravity-fed shower. This will increase water pressure.
Q: How do I prevent my camp shower from leaking water everywhere?
A: Make sure all connections are tightened properly on hoses and shower heads. Use waterproof tape to patch any small holes. Positioning your shower on a level surface can also help prevent leaking issues.
Q: Is it safe to use a portable electric camp shower?
A: Yes, as long as you take proper precautions. Make sure to only use a GFIC-protected circuit, inspect cords for damage, elevate off wet surfaces, and keep electrical components dry. Take added care when using electric showers near water.
Enjoy Your Mobile Shower Oasis
When set up using proper placement and techniques, your portable shower can offer a relaxing, restorative opportunity to wash up even in remote locations. Follow the guidance in this post and you’ll be enjoying refreshing cleanliness while camping in no time.
The key is finding the right shower model for your needs, scouting the ideal set up location, heating the water sufficiently, containing runoff, and using biodegradable products to minimize environmental impact. With the proper preparation and responsible use, a portable shower allows you to spend time adventuring in nature without sacrificing good hygiene.
So pick up your preferred portable shower option and head out into the great outdoors – a revitalizing wash awaits! Let me know if you have any other camp shower tips and tricks. Happy (and clean) camping!