Demystifying Trail Camera Motion Detection
Want to know how trail cameras can automatically take pictures of wildlife and intruders without you being there? The secret lies in the motion detection sensors inside the cameras. When something moves within range, the cameras spring into action to capture all the activity.
In this post, I’ll explain exactly how trail cameras sense movement and know when to snap photos and videos. You’ll learn how passive infrared (PIR) sensors work to detect heat and motion. I’ll also cover the range of the motion detection so you know how much area your camera can effectively monitor.
Understanding how your trail camera picks up movement is key to positioning it in the optimal location. The motion sensor’s capabilities determine how far away the camera can detect activity. And with the right settings, the camera will only capture movement when you want it to, not false triggers like branches blowing.
Read on to unlock the inner workings of trail camera motion detection. With this knowledge, you can harness the power of these clever devices to remotely monitor wildlife and enhance security on your unattended property.
Passive Infrared (PIR) Motion Sensors
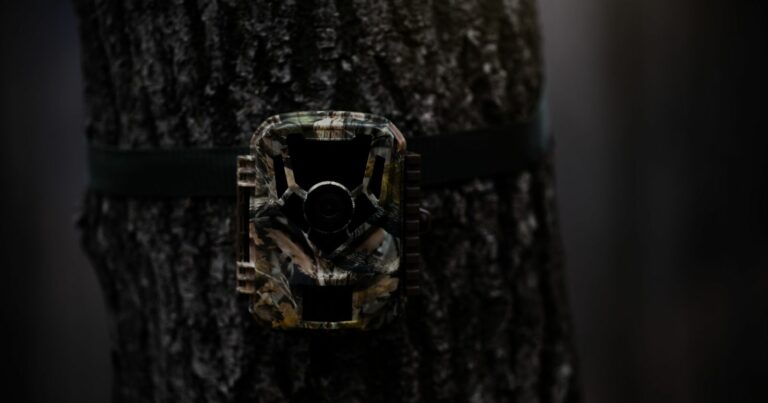
The vast majority of trail cameras available today use a Passive Infrared (PIR) sensor to detect motion. This sensor doesn’t emit any kind of signal—it solely detects infrared radiation.
A PIR sensor contains dual pyroelectric sensors enclosed in the camera that detect levels of infrared heat. Everything emits some level of infrared radiation, including animals and humans.
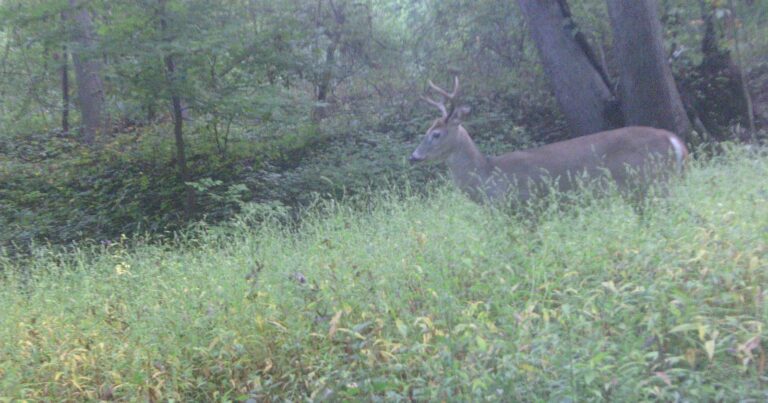
When a warm object like a deer or person passes in front of the camera, the amount of infrared striking the two sensors changes. This causes differences in the voltage generated by the sensors.
When the voltage differential exceeds a certain threshold, the PIR sensor triggers, telling the camera to instantly capture a photo or video.
PIR sensors offer reliable motion detection out to around 80 feet for most trail cameras. And they can detect movement in complete darkness, unlike traditional motion sensors.
Detection Range and Zone
The PIR sensor in a trail camera has a conical-shaped detection zone. So the range depends on the:
- Detection angle – Wider angles like 80-120° detect motion farther away. Narrower angles only cover shorter distances.
- Range – Max detection range is typically 80 feet or less. Longer max ranges up to 100+ feet are possible.
- PIR sensitivity – Higher sensitivity picks up smaller movements farther away. Too high may cause false triggers.
Ideally, you want a wide 80-100° detection angle and at least an 80 foot range. This gives the camera the best chance of picking up movement across a wide area.
Motion Sensor Settings
Trail cameras allow configuring sensor settings to optimize motion detection:
- Trigger Interval – Minimum time between photo/video captures after initial trigger (e.g. 5 seconds). Prevents overfilling memory cards with redundant shots.
- Recovery Time – How long the sensor sleeps after a trigger before detecting again (e.g. 30 seconds). Allows subject to fully enter and exit frame.
- Time Lapse – Takes photos at preset intervals regardless of motion. Useful for landscape timelapses.
- PIR Sensitivity – Detection sensitivity level. Lower settings prevent false triggers from wind/vegetation while still detecting motion.
Take time to fine-tune these settings to best suit your particular monitoring goals and environment.
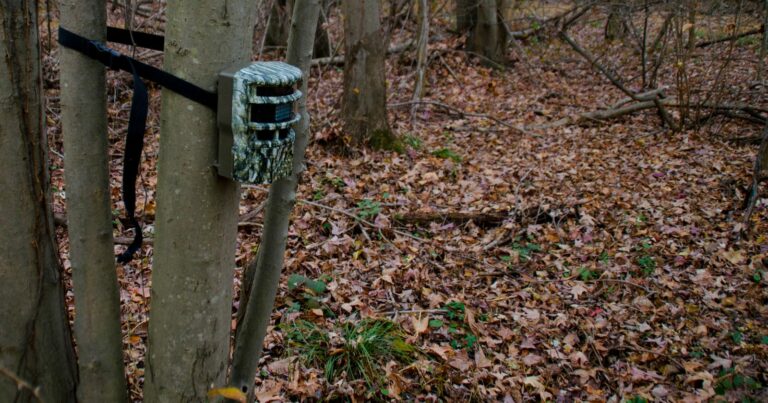
Positioning Tips
Properly positioning your trail camera is key for the motion sensor to work effectively:
- Face the camera perpendicular to the expected path of travel to maximize time in the detection zone.
- Tilt the camera slightly downward to extend the detection range. Angling upward reduces range.
- Avoid facing the camera east or west where it will stare directly into the rising or setting sun.
- Consider prevailing winds and vegetation movement when selecting location to reduce false triggers.
- Mount the camera at least 10 feet high pointing down to allow detecting movement farther away.
Troubleshooting Sensor Issues
If you follow the tips above but still have trouble with motion detection, try these troubleshooting steps:
- Walk test the detection zone to confirm positioning is optimal. Make small adjustments to the angle or height as needed.
- Check that no vegetation, branches, or other objects are obstructing the camera lens and PIR sensors. Even partial obstructions can drastically reduce range.
- Inspect that the camera lens is clean. Dirt, dust, or condensation can interfere with motion detection.
- Ensure batteries are fresh. Low battery power can cause reduced motion sensor performance.
- Adjust PIR sensitivity lower to prevent false triggers from wind, vegetation, or far off movements. But too low will miss subjects.
- Update to the latest firmware. Manufacturers regularly improve motion detection with firmware tweaks.
With a properly positioned camera and tuned motion sensor settings, you’ll reliably capture movement of game and potential trespassers. Just remember that environmental factors like temperature and vegetation density impact detection range. So periodically walk test your cameras and make adjustments to ensure optimal performance.
I hope this guide gave you a deeper understanding of how trail cameras detect motion. Let me know if you have any other questions!