Unlocking the Secrets Behind Trail Camera Triggers
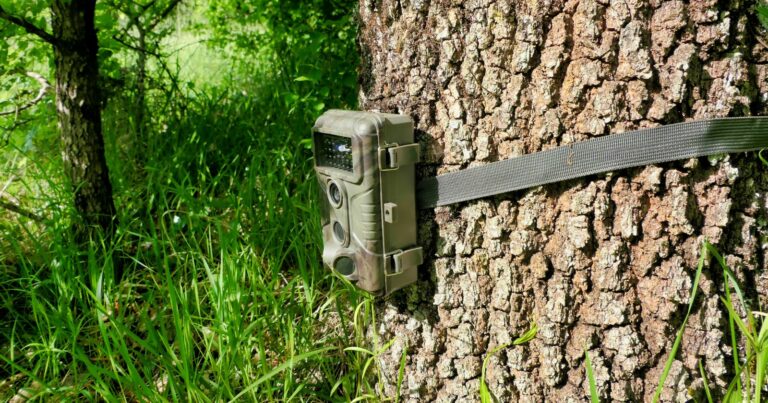
As a trail camera owner, you want to capture photos and videos of game, not leaves blowing in the wind. But what exactly causes your camera to snap those pics and record clips? Understanding trail camera triggers is key to optimizing your camera’s performance in the field.
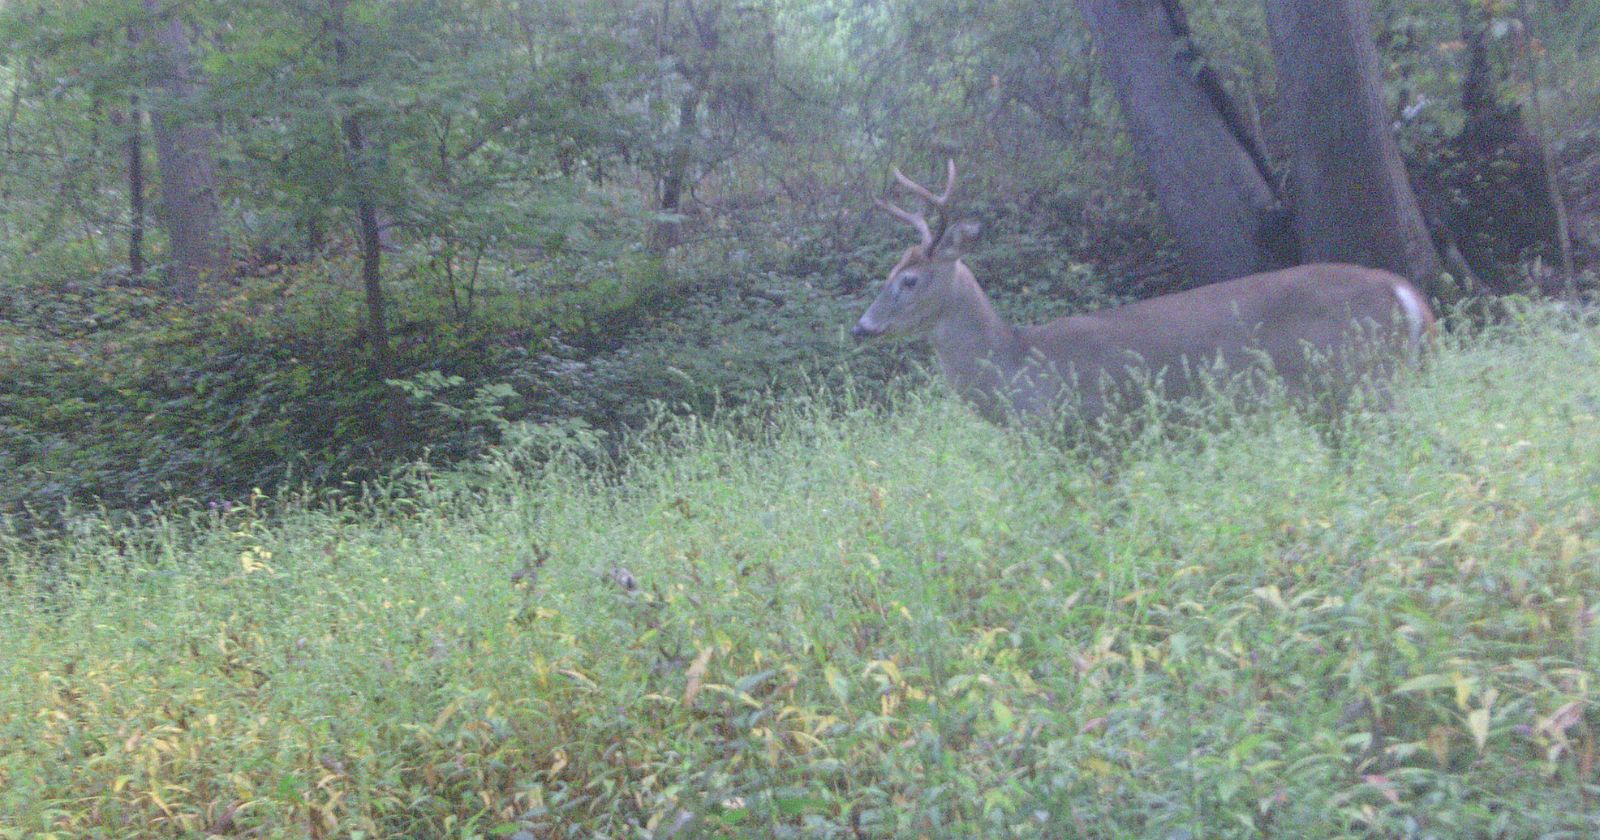
The sight of a big buck trotting through the woods is certainly exciting. But it’s frustrating when you check your trail camera only to find false triggers caused by shadows or raindrops. Or even worse – missed shots because the camera didn’t detect movement reliably.
By learning how factors like motion, heat, and light changes activate trail cameras, you can tweak settings and positioning to maximize true triggers. And minimize false ones. For example, adjusting sensitivity and using a time delay can reduce false triggers from environmental conditions. And choosing the optimal mounting height and angle can ensure game movement is accurately detected.
With a few simple techniques, you can have confidence that your camera will start snapping immediately when game enters the area. Let’s take a look at what exactly triggers your trusty trail camera to capture the action. You’ll gain the knowledge to prevent missed shots and have an SD card full of incredible wildlife encounters.
Motion Sensors – The Standard for Detecting Movement
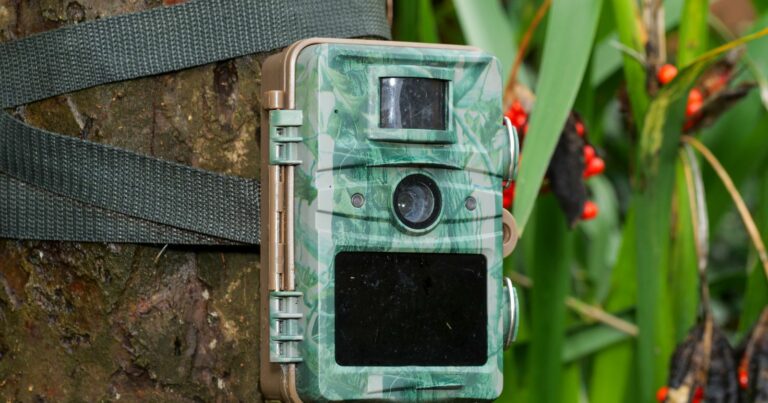
The vast majority of trail cameras are triggered by basic motion sensors that use passive infrared (PIR) technology. This sensor detects rapid changes in heat across multiple zones in its field of view. When an object with a heat signature, like an animal or human, moves through these zones, the sensor activates the camera to record a photo, video, or both.
PIR sensors are reliable for detecting movement, but they have limitations:
- Movement must cross multiple zones to activate, so motion right in front needs extra sensitivity.
- Sensors have a limited detection angle, usually around 45-50 degrees. Outside this, motion can be missed.
- Motion sensitivity can be adjusted, but requires careful tweaking to avoid false triggers.
Infrared Beams – Precise Triggers When Broken
Some specialized trail cameras emit an active infrared beam between transmitters and receivers on the camera housing. When something breaks this invisible IR beam, it instantly triggers photo and video capture.
Infrared beam triggers offer key advantages:
- Very precise triggering when beam is interrupted compared to general motion detection.
- Beam can stretch across trails to always activate on subject movement.
- Zero false triggers since only interrupting beam will activate camera.
But IR beam triggering also has some downsides:
- Only interrupts from objects in the beam’s path will trigger, so side movement can be missed.
- Initial setup requires carefully aligning transmitters and receivers.
- More expensive compared to standard PIR sensor cameras.
Advanced Sensors Take Multi-Factor Approaches
With advanced technologies, trail cameras can actually combine multiple detection methods for improved triggering:
- Dual PIR sensors – Having multiple PIR sensors with overlapping zones reduces dead spots and triggers more reliably.
- PIR + Microwave – A microwave motion sensor detects more ambient movement while PIR identifies targets.
- PIR + Infrared – An infrared beam trigger is used in tandem with a PIR sensor for precise interrupts backed by motion.
Multi-factor sensors prevent gaps in coverage that any single method would have. The downside is potentially more false triggers without careful adjustment. But overall, combining technologies results in excellent detection rates and fast triggering.
Time-Lapse Mode – Capturing Images at Set Intervals
Time-lapse is a special trail camera mode that triggers shots at set time increments regardless of motion. This is useful for documenting changes over hours or days like:
- Flower blooming, trees leafing out
- Construction projects
- Clouds rolling through the sky
- Sun and moon tracking across backdrop
Time-lapse mode requires no motion for activation, just a consistent time interval. It can produce mesmerizing sequences when reviewed in fast motion.
Recommendations for Minimizing False Triggers
While advanced sensors use multiple factors to detect subjects, false triggers can still occur from leaves, vegetation, wind, rain, snow, direct sunlight, etc. Here are some tips to reduce false triggering:
- Adjust sensitivity – Turn down PIR, microwave, or IR sensitivity gradually until false triggers stop.
- Increase trigger delay – A 1-2 second trigger delay after detection helps avoid false triggers.
- Position camera properly – Tilt to avoid direct sun, shelter from wind, foliage, etc.
- Refine aim – Ensuredetection beams or zones hit trails/areas as intended without obstruction.
- Time-lapse mode – Uses interval timing instead of motion so no false triggers.
Positioning Your Trail Camera for Reliable Triggering
Since sensors have limited ranges and detection beams require precise aim, positioning is also key for reliable triggering.
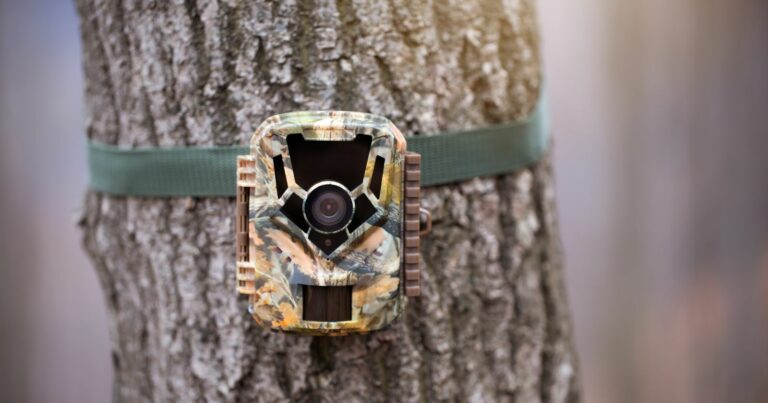
- Mount at around 4-5 feet to achieve optimal coverage area for most motion sensors.
- Angle down 10-20 degrees along game trails to give subjects time in frame before triggering.
- If using a multi-zone PIR sensor, angle the camera so subjects move laterally across zones.
- For IR beam triggers, carefully align emitter and receiver beams across trails. Test beam width.
- Avoid obstructions like brush and adjust sensitivity settings to environment.
Quick Daytime Camera Tests Prevent Disappointment
It is critical to test your trail camera’s detection capabilities during setup before leaving it to record overnight.
- Walk various angles/distances in front of camera to see its trigger range limitations.
- Block IR trigger beams with cardboard to confirm interrupts work.
- Sway vegetation and materials in front of camera to check for false triggers.
- Review the images and footage during testing to optimize settings and positioning.
This quick confirmation gives you confidence that your camera will reliably capture subjects moving through its field of view.
Key Takeaways on Trail Camera Triggers
- Standard PIR sensors detect motion crossing multiple heat zones
- Infrared beam triggers activate precisely when beam is interrupted
- Advanced multi-factor sensors combine PIR, microwave, IR for improved detection
- Time-lapse mode activates at set intervals regardless of motion
- Refine settings and positioning to maximize true triggers and minimize false ones
- Always test cameras in the field before full deployment
Learning what triggers your trail camera is step one. Step two is applying that knowledge to tweak settings and positioning for flawless functionality. When set up optimally, your camera will capture all the action on the trails, fields, or lanes you are monitoring with minimal misses and false triggers. Use these trail camera triggering insights to your advantage!