Get the Most out of Your Trail Camera with These 8 Expert Settings
Do you love spending time outdoors hunting and camping, but find yourself missing all the action? Have you returned to your trail camera only to find blurry night images or false triggers from blowing leaves? Optimizing your trail camera settings can be frustrating, but with a few quick adjustments you’ll be capturing crystal clear images and videos of game and trespassers.
The key to success is customizing a few key settings based on your specific needs. First, adjust the image quality – higher resolution produces better quality but eats up battery and memory. Next, set an appropriate video length that balances detail with storage. You’ll also want to tweak motion sensitivity so you aren’t sifting through footage of branches blowing in the wind.
Consider using time-lapse mode to see changes over time, and be sure to enable date and time stamps. If your camera has wireless connectivity, definitely take advantage of remote access and motion notifications. With some thoughtful tweaks, you’ll get stellar footage to review and analyze when you return from the field. Careful testing is key before leaving your camera unattended for long stretches.
Regularly reviewing the captured images and videos allows you to confirm your camera is aimed at the right spots and functioning as intended. You’ll be able to pinpoint game movements and patterns, while also spotting any unwanted visitors. By optimizing these trail camera settings for your specific security and surveillance needs, you’ll get the action-packed footage you’re after.
Optimize Image Quality for Clear Shots
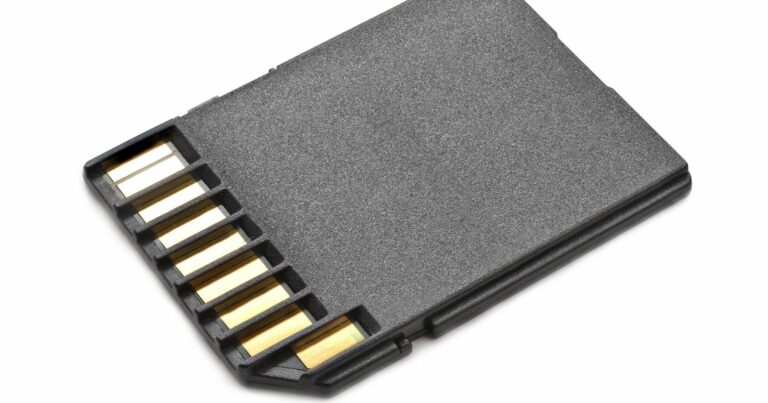
The image quality setting controls your trail camera’s resolution, which determines how clear the photos will be. Lower resolution settings allow you to store more images and videos since the files are smaller, but this comes at the expense of image clarity. For the best balance, choose an image resolution of at least 5MP. Higher resolutions like 10MP or 20MP will give you stunningly crisp images, but your SD card will fill up faster.
Set an Ideal Video Length
Trail camera videos can provide an immersive look at game activity, but long videos take up much more space than photos. If storage capacity is a concern, keep videos short – 10 to 20 seconds is ideal for most purposes. This will let you pack hundreds of videos onto the SD card while still capturing enough footage to analyze the animals’ behavior. If card capacity isn’t an issue, feel free to bump up the length for more detailed clips.
Adjust Motion Sensor Sensitivity
Your camera’s motion sensor determines how much movement is required to trigger recording. Low sensitivity settings help avoid false alarms caused by branches and vegetation moving in the wind. But dial the sensitivity too far down and your camera might miss more distant or slower moving animals. Start around medium sensitivity and adjust from there based on your environment and the footage you’re getting.
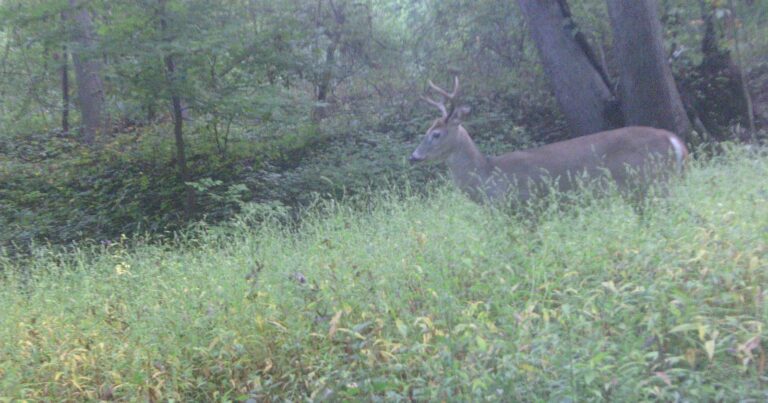
Use Time-Lapse Mode to Observe Activity Patterns
Time-lapse mode is a great trail camera feature that takes photos at set intervals regardless of motion. This allows you to witness changes in the landscape over time, like a bean field growing or a wallow expanding. It’s also great for observing general activity patterns in the area. You might notice deer frequent the same trails at dawn and dusk each day, for example.
Apply Date and Time Stamps to Keep Track of Events
Your trail camera’s date and time stamp feature is tremendously helpful for adding context to photos and videos. At a glance, you can see when each event occurred to start piecing together activity timelines and patterns. The timestamps also allow you to sync up your trail cam footage with other cameras you have positioned in the area.
Take Advantage of Wireless Connectivity and Remote Access
Higher end trail cameras have built-in wireless connectivity that allows you to remotely monitor and control the camera from your smartphone or computer. This means you can check the camera’s battery level, change settings, and even view photos and videos without disturbing the area. Remote access is extremely useful for keeping tabs on your cameras from afar. Some wireless cameras also send motion detection alerts right to your phone.
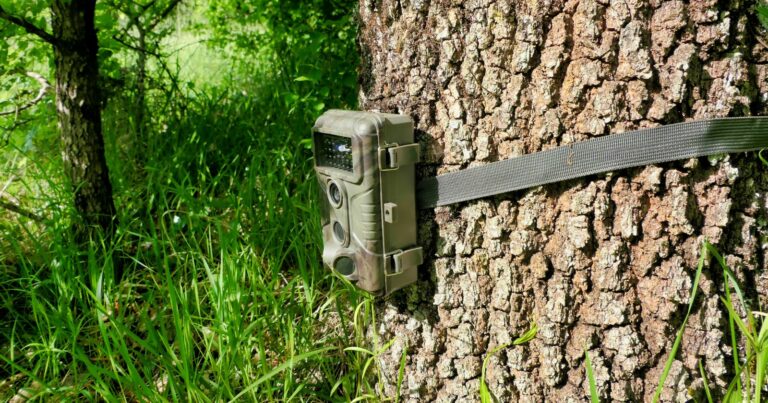
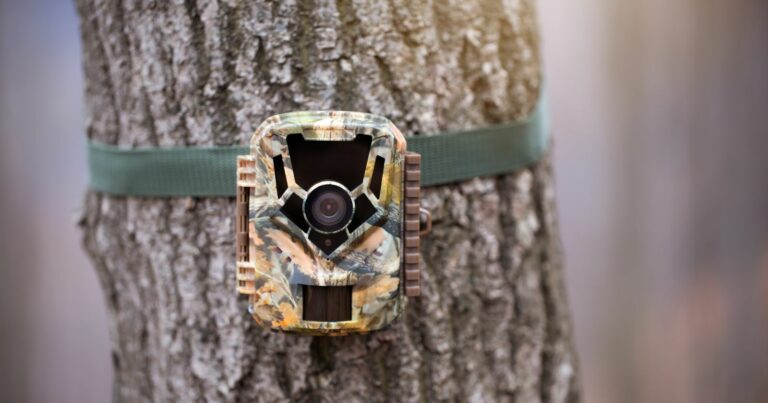
Carefully Position Your Camera
Of course camera settings are only part of the equation – you also need to strategically set up the camera itself to capture great footage. Mount it about 4-5 feet off the ground aiming downward, angled parallel to game trails or toward areas you expect activity. Face north or south when possible to avoid intense sun glare. And pick sturdy trees or poles that won’t bend and shift the camera’s aim.
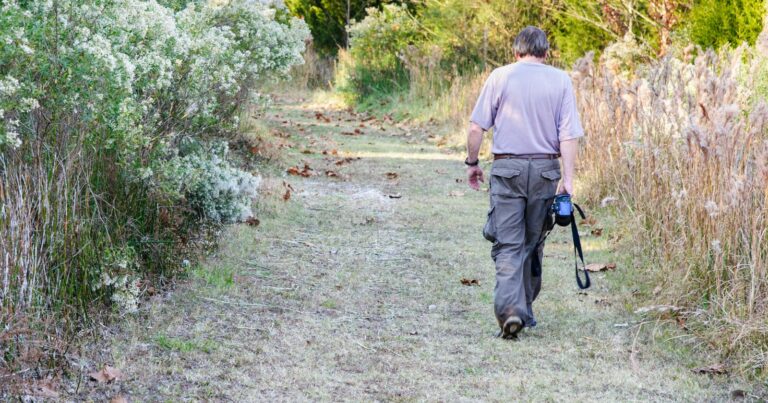
Regularly Review and Analyze Your Footage
Checking the photos and videos on your SD card should be part of your regular routine when maintaining your trail cameras. This allows you to spot any issues with the camera position, settings, or performance. You’ll also start to learn the habits of deer, bears, coyotes, or other animals who may start becoming patterns. Analyzing the footage will make you a smarter hunter and help you refine both your trail camera strategy and hunting approach.
Additional Trail Camera Tips
- Use high quality SD cards with plenty of storage space. Look for cards rated Class 10 for fast write speeds.
- Test your cameras before setting them up in the field. Make sure they respond properly to motion, take clear images day and night, etc.
- Clean camera lenses regularly using a soft cotton cloth and camera lens cleaning fluid. This removes dirt and debris that can degrade image quality.
- Conceal your cameras to protect them from animals and thieves. Use camo covers or brush when possible.
- Point north or south to avoid intense sunlight which can cause glare, lens flare and poor contrast.
- Make sure strap loops or bungee cords don’t block the camera lens or sensors.
- Use lithium or alkaline batteries rather than rechargeable batteries in cold weather. Lithium batteries last the longest.
- Secure your cameras with quality padlocks and security boxes or cables when possible.
- If allowed, add a “this area is under video surveillance” sign as a theft deterrent. Just the warning is often enough.
Key Takeaways on Trail Camera Settings
- Optimize resolution for clear photos and manageable file sizes
- Set video length based on storage capacity and level of detail needed
- Adjust motion sensor sensitivity to reduce false triggers while capturing activity
- Use time-lapse mode to observe long term patterns and changes
- Enable time & date stamps to sync footage from multiple cameras
- Utilize wireless connectivity for remote monitoring when available
- Position cameras strategically to capture quality footage
- Regularly review and analyze footage to refine approach
With some thoughtful adjustments to these key trail camera settings, you’ll be equipped to document game activity, surveil your property, and capture incredible nature footage. Pay close attention to your specific needs and environment when tweaking settings. Take the time to test cameras before deployment. And be sure to frequently check the memory cards and analyze the results. You’ll gain invaluable insight into deer, turkey, bear and other wildlife behavior while also getting mesmerizing, high quality photos and videos. Dialing in your trail camera settings takes effort up front, but the reward is a phenomenal window into nature and your own land.