Unlocking the Secrets of Trail Camera Technology
Do you ever wonder what goes on at your property when you’re not around? Curious wildlife? Sneaky intruders? With a trail camera, you can find out and capture all the action. But how exactly do these clever cameras work their magic?
In this post, I’ll explain the inner workings of trail cameras so you can better understand what they do. You’ll learn how the motion sensor picks up movement and triggers the camera to snap photos or record video clips. I’ll also cover how trail cameras are powered, positioned, and configured so you can optimize your own camera.
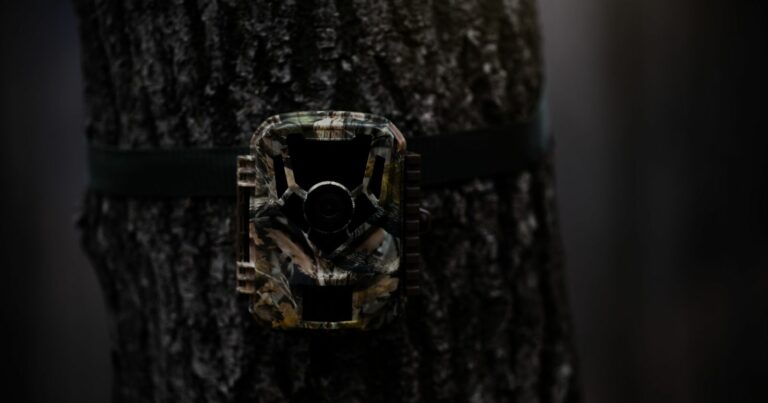
Under the hood, trail cameras have a highly sensitive Passive Infrared (PIR) motion sensor. This detects heat and movement from people, animals, and vehicles within the camera’s range. When the sensor is triggered, it activates the camera to instantly start recording footage to the memory card. The camera won’t stop until the subject leaves the area.
Now you know the basics of how trail cameras use advanced technology to detect motion and capture images. Read on to learn more details about maximizing your trail camera’s performance. With this knowledge, you can effectively monitor wildlife and security threats on your unattended property.
How Trail Camera Sensors Work
The core technology that enables trail cameras to work automatically is the motion sensor inside. Most trail cameras today use a Passive Infrared (PIR) sensor.
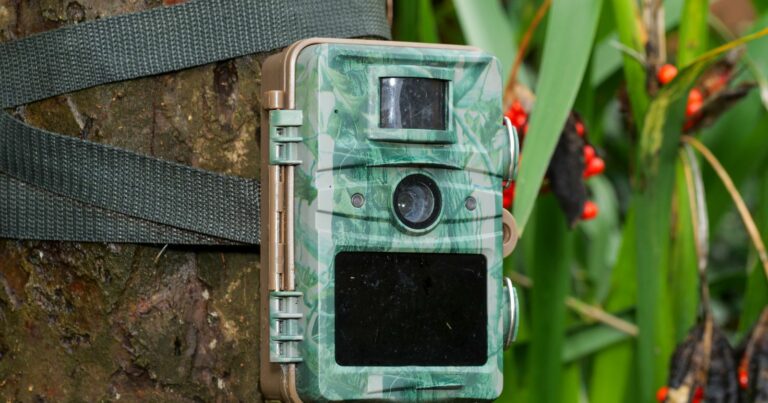
PIR sensors detect infrared radiation given off by warm objects such as people, wildlife, and vehicles within the camera’s range. When an object moves, it gives off bursts of infrared as the heat signature changes.
The PIR sensor element is tuned to detect this infrared radiation and causes the sensor to trigger when it changes rapidly. This sends a signal activating the trail camera to take a photo or video.
Once triggered, the sensor has a short lockout period where it will ignore additional motion. This prevents the camera from capturing too many redundant images if a subject remains within range. This lockout time can be adjusted on most trail cameras.
Capturing Photos and Video Footage
When the PIR sensor is triggered by sudden motion, it signals the trail camera to start capturing images or video:
- Photos – The camera will snap a series of photos at predefined intervals, such as 1-2 photos per second. This captures the subject as it moves through the detection zone.
- Video – Video recording starts immediately and continues uninterrupted until the motion stops. Video provides a more fluid, natural view of activity.
- Hybrid – Many cameras offer a hybrid mode that takes a short video clip and still photos at the same time when triggered.
Photos and video are stored locally on a memory card inserted in the trail camera. When the card fills up, the oldest files are overwritten automatically.
Power Source
Since most trail cameras are positioned in remote outdoor areas, they can’t simply plug into an electrical outlet to power themselves. Instead, they rely on batteries:
- AA batteries – Most trail cameras run on 8-12 AA batteries. Alkaline batteries are sufficient, but lithium batteries have more power and last 3-4 times longer.
- Solar power – Some higher end trail cameras have solar panels that trickle charge built-in rechargeable batteries. This allows nearly unlimited runtime.
- External battery packs – For extended deployment, you can connect an external battery pack to the camera’s power input jack.
No matter the power source, carrying spare charged batteries when checking your camera is a must. This allows quickly swapping them out as needed.
Key Settings and Options
Modern trail cameras are equipped with many configurable settings to optimize performance:
- Image resolution – Higher resolution produces clearer images and video, but comes at the cost of greater power consumption and memory card storage space. Aim for at least 720p or 1080p video.
- Trigger speed – Faster trigger speeds of 0.5 seconds or less reduce motion blur and ensure you capture fleeting movements.
- Detection zone – A wider field of view will detect motion farther out, up to 80+ feet for some cameras. But it also increases false triggers.
- Recovery time – This sets the interval between photo bursts on motion to help capture more of a moving subject. 1-5 seconds is ideal for most scenarios.
- Timelapse – Captures photos at preset intervals during certain time windows regardless of motion. Great for observing landscapes over time.
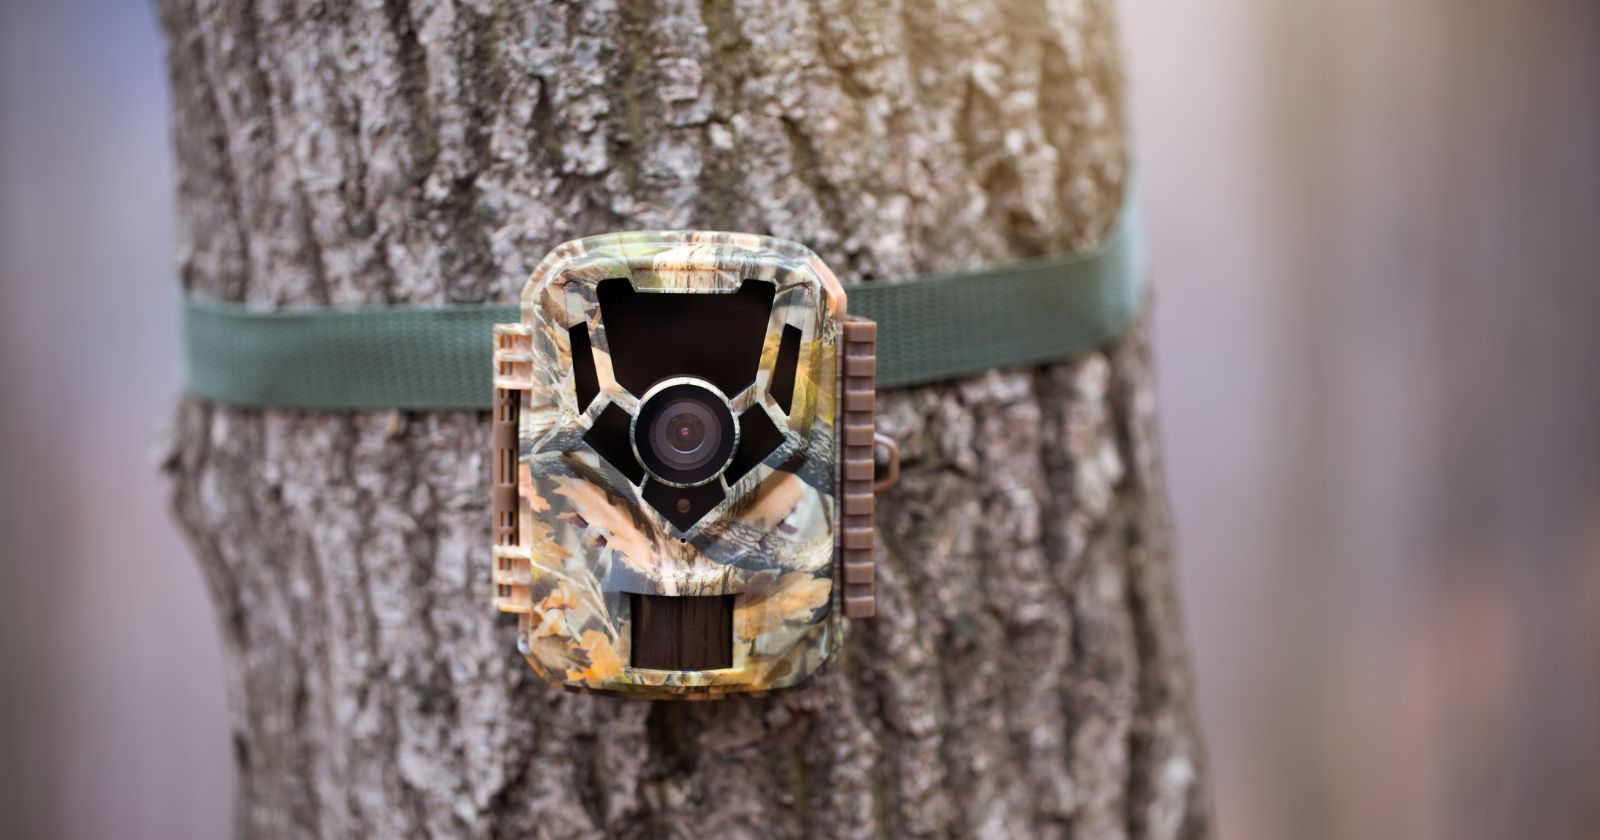
Mounting and Positioning Your Camera
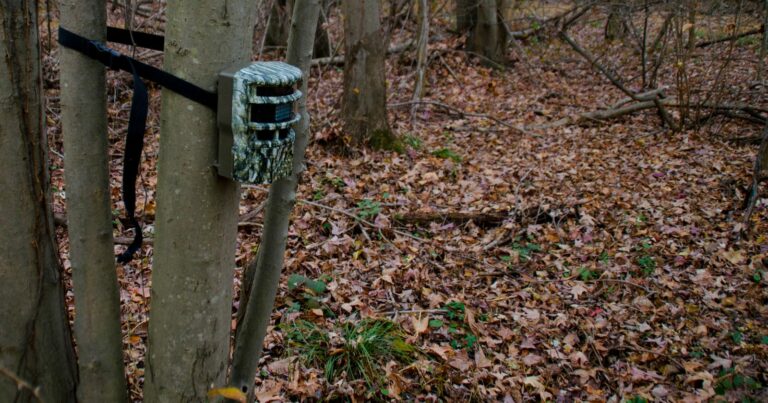
How and where you mount your trail camera is critical for optimal performance:
- Mount the camera 10-15 feet high aiming slightly downward to capture the largest field of view possible.
- Position it directly overlooking high traffic areas such as trails, watering holes, or bait piles where animals frequent.
- For security, point it above easily accessible areas. Consider using a lockbox or cage to deter tampering.
- Use nearby trees or branches to help conceal the camera but avoid dense obstructions.
- Arrange multiple cameras to monitor a property from several vantage points simultaneously.
Maintaining and Troubleshooting Cameras
A properly maintained trail camera will deliver years of reliable service:
- Test cameras thoroughly before deployment. Make sure motion detection, photos, and videos work properly.
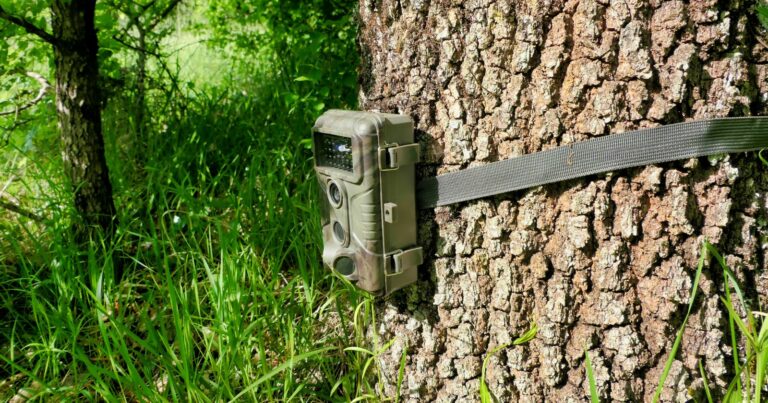
- Securely mount the camera and reinforce with straps. Check straps and mounting monthly.
- Inspect it every 2-3 weeks. Switch out batteries, clean lenses, check connections, etc.
- Review footage and confirm camera positioning is still optimal, adjusting as needed.
- Keep the camera firmware updated for bug fixes and new features.
- If issues occur, systematically troubleshoot. Check batteries, power connections, lenses, motion zones, and settings.
Getting More from Your Trail Camera
Now that you have a deep understanding of trail camera technology, here are some final tips for mastering your camera:
- Take time tuning settings like trigger speed, recovery time, and motion zones for your specific usage. It takes some experimenting to optimize.
- Position cameras during the day when game movement is minimal to avoid false triggers as you adjust the setup.
- For the very best image quality, manually set the ISO as low as possible given lighting conditions. Lower ISOs reduce noise.
- Point cameras north or south whenever possible to avoid direct sunlight which can cause overexposure and glare.
- Move cameras every few weeks to find the most high traffic spots as game trails and patterns shift over time.
As you can see, modern trail cameras are amazingly sophisticated devices. But their passive sensors leave all the intelligence up to you in setting up the system properly. Use the guidance above and you’ll be on your way to capturing incredible photos and videos.
Let me know if you have any other trail camera questions!