How Far Can a Trail Camera Take a Picture?
How Far Can a Trail Camera Take a Picture? And what kind of pictures can you expect to get? We’ll explore all that and more in this article!
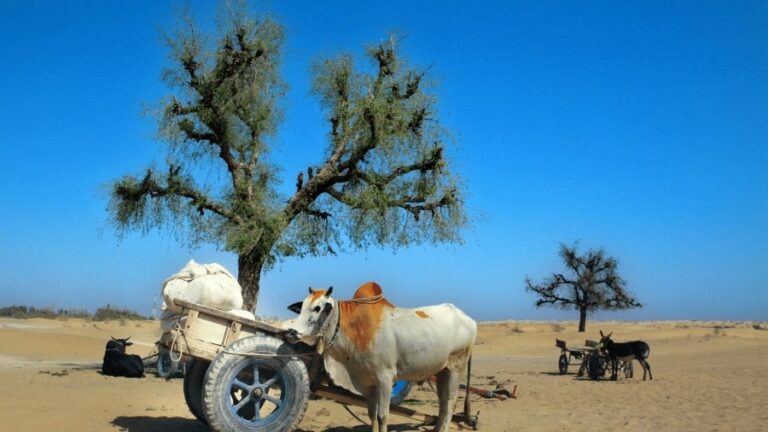
Trail cameras are awesome tools for hunters. They allow the hunter to set up the location from which they want to hunt as well as the areas where they need to patrol or check periodically, all without being there themselves.
These cameras have come a long way since their first introduction, with many different features available now that weren’t before. One of these is the ability for some models of trail cameras to take photos at much greater distances than before!
How far can your model take images and still provide clear quality? How good will those photos be when you take them at a great distance? How does the quality of your photos change as the distance increases? All that and more is what this article will focus on, so keep reading!
How Far Can a Trail Camera Take a Picture?
A trail camera can take pictures from half a mile to three miles away. The picture will get blurrier over long distances, but it’s still possible. As for having an image with any detail or color, it gets harder past one to two miles out.
But if you’re taking pictures from far away to scout for potential prey or spot your target from afar after it wanders into range then the distance is not an issue. How good your trail camera is has a lot to do with how well you can still get a clear picture from that distance.
What kind of pictures can you expect to get?
Trail cameras can take pictures from far away. The further away you are, the blurrier the picture will be. But if you’re taking pictures from far away to scout for potential prey or spot your target from afar after it wanders into range then the distance is not an issue.
How good your trail camera is has a lot to do with how well you can still get a clear picture from that distance.
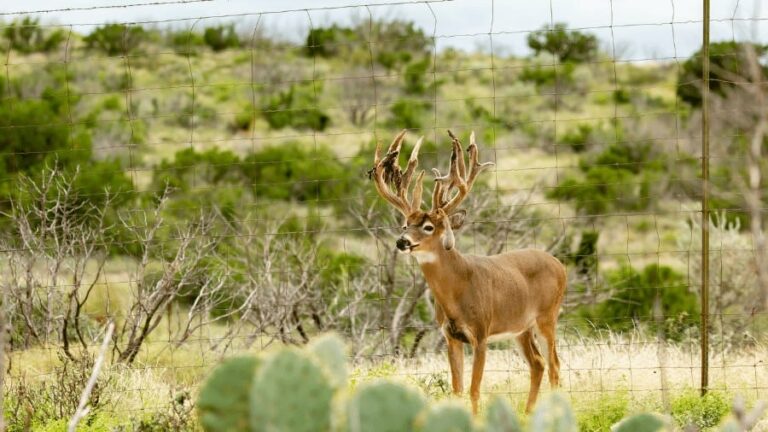
Generally, as the distance between the camera and the subject increases, the clarity of the image decreases. So while you may be able to get a good shot of a deer from 500 yards away, you’re not going to be able to see any distinguishing features.
If your primary purpose for using a trail camera is scouting out potential prey or taking pictures of animals from afar, then you’ll be happy to know that most cameras are capable of capturing decent images at long ranges. However, if you’re looking for a clear picture of an animal’s face or markings, you’ll likely be disappointed at how much the image quality will degrade when you zoom in.
How good will those photos be when you take them at a great distance?
A trail camera can take pictures from half a mile to three miles away. The larger the distance between the object being photographed and the camera, generally speaking, the larger its size about that object will appear.
However, this is not always true. A photo taken just out of range of an animal may still be identifiable, whereas one taken within 100 yards may not have enough detail left to make it possible for you to identify it.
Generally, photographers will tend to use different focal lengths depending on how close their subject is or what exactly they are trying to capture with their photo for this reason. How well your model works at longer ranges largely depends on what you are trying to photograph, so being aware of how well the camera works at the distances you need it for is important.
When taking photos from a distance, remember that they will be in focus only when the object in question fills up your image frame. This can result in images that have an odd appearance if you’re not careful with where you aim your camera. So pay attention to what’s in front of and behind your subject before snapping a picture!
How does the quality of your photos change as the distance increases?
Trail cameras can take pictures from far away, but the clarity of the image decreases as the object gets further away. How well your specific model works at longer ranges largely depends on what you are trying to photograph, so being aware of how well your trail camera works with long ranges is important. So pay attention to what’s in front of and behind your subject before snapping a picture!
When taking photos from a distance, remember that they will only be in focus when the object in question fills up your image frame. How well your specific model works at longer ranges largely depends on what you are trying to photograph, so being aware of how well it works with long ranges is important. So pay attention to what’s in front of and behind your subject before snapping a picture!
It can be hard to predict how far your trail camera can take a picture because it depends on the specifications of your specific model, but you should always expect it to be able to capture an image from about half a mile. How good your photograph comes out will largely depend on what you are trying to photograph and how far away it is, though photographs will generally become less clear as they move further away.
Check the Top 10 Best Long Range Trail Cameras That You will Love it.
How to set up a trail camera
A trail camera is a great tool to have while hunting, as it can help you nab that deer you’ve been eyeing from a distance. But how do you set one up? In this how-to guide, we’ll walk you through the process of installing and using your trail camera!
What you’ll need:
- Trail Camera
- Tree Strap
- Bungee Cords
- Mounting Bracket
- Lock & Key
- Screws
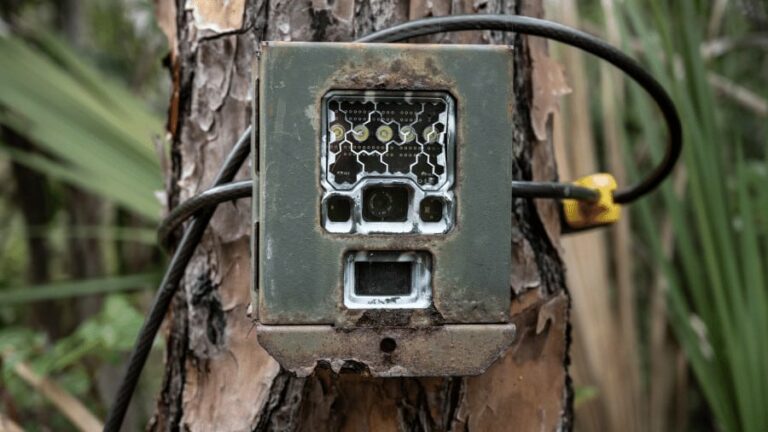
1. Find a tree to strap your camera to. It’s best to use a tree that is near the area you’re hunting in, as this will give you the best chance of capturing the game on film. Make sure to take into consideration the height of your camera and how you’ll be able to easily access it. You may want to look for a tree that has low branching; this will make it easier to strap your trail camera to the trunk of the tree.
2. Strap your trail camera to the tree with a mounting bracket. Make sure that the base is facing out towards the direction you think animals will come from, as well as making sure that there’s room between its bottom and the ground so animals can pass through without triggering it! Use bungee cords or screws (depending on what kind of mounting bracket you use) to secure your trail camera in place. If using screws, make sure they are short enough not to protrude past the base of your trail camera.
3. Put the lock and key on to prevent theft or tampering with your camera, just in case it is set up in an area that may be highly trafficked by people or animals alike.
4. Make sure it’s working! How well your specific model works at longer ranges largely depends on what you are trying to photograph, so always make sure to test out your trail cam before actually putting it up for use! You can do this by aiming it at a certain spot (or around where you think the game will pass) and taking some sample shots before setting it up properly.
How far away you place your trail camera may also change depending on whether or not you’re using infrared mode; if you are, it’s best to place your trail camera higher up so the infrared doesn’t give away its location. How well your specific model works at longer ranges largely depends on what you are trying to photograph, so always make sure to test out your trail cam before actually putting it up for use!
What to do with the pictures you take?
If you’re looking for a way to store those photos, as well as organize them for easier access, your best bet is to set up a cloud storage account through services like Dropbox or iCloud. In addition to the free storage offered by both iCloud and Dropbox, you can pay for more storage space if your collection of trail cam photos starts to grow.
Both services include applications that allow you to access the pictures on your computer while on the go, making it easier than ever to keep track of everything.
You’ll also need a method of transferring all these new pictures from your camera onto one of these cloud storage accounts. How do you handle this process? Using a USB cord is probably easiest, but you could always use Bluetooth or Wi-Fi if yours has either capability built-in.
With the advancements in technology found with many modern cameras, this may be a less tiresome way to transfer your photos compared to fumbling around with an SD card and trying not to drop it!