Stop Wasting Money! Learn How to Mount Trail Cams Right
Have you ever been excited to check your trail camera only to find blurry photos or footage missing the animals completely? Frustrating, right? If so, you’re not alone. Improperly mounting trail cameras is one of the most common mistakes I see hunters make. But it doesn’t have to be you this season!
In this post, I’ll show you the exact step-by-step process I use to mount any trail cam quickly for optimal results. No more wasted time and money from poorly positioned cameras that don’t capture great footage. I’ve tested all the variables so you can skip the trial and error.
Follow my guide and you’ll have stellar, clear images of deer, bears, and other wildlife every time you set up a trail cam. Let’s walk through how to pick the ideal mounting locations, heights, angles and really dial in your setup for outstanding photos you’ll be proud to show off.
Step 1: Pick the Right Mounting Location
Choosing where to place your trail camera is the most important decision. You want an area with high animal traffic that allows you to stay concealed while positioning the cam effectively. Here are prime spots to consider:
- Along game trails where animals like deer regularly travel. Look for well-worn paths in vegetation.
- Near water sources like streams, ponds, or marshy areas frequented by wildlife.
- At food plot corners or edges where deer and hogs feed.
- Overlooking rubs or scrapes where bucks regularly visit and scent mark.
- Near bait piles placed to attract wildlife like bears.
- Along fence lines or ridges that funnel animal movements.
Avoid aiming your trail cam east or west if possible. Direct sunrise and sunset angles can cause lens flare and lost footage. Also pick areas with natural backdrops instead of sky so subjects stand out better in images.
Step 2: Select the Right Mounting Method
Trail cameras come with various mounting options. Choose the best method for your location and needs:
Straps
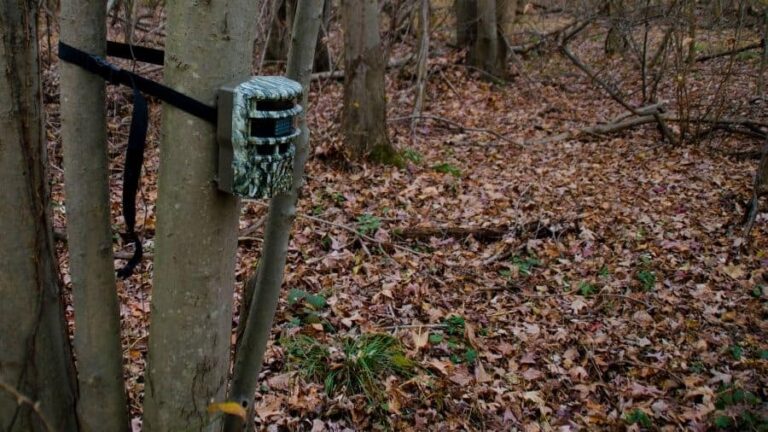
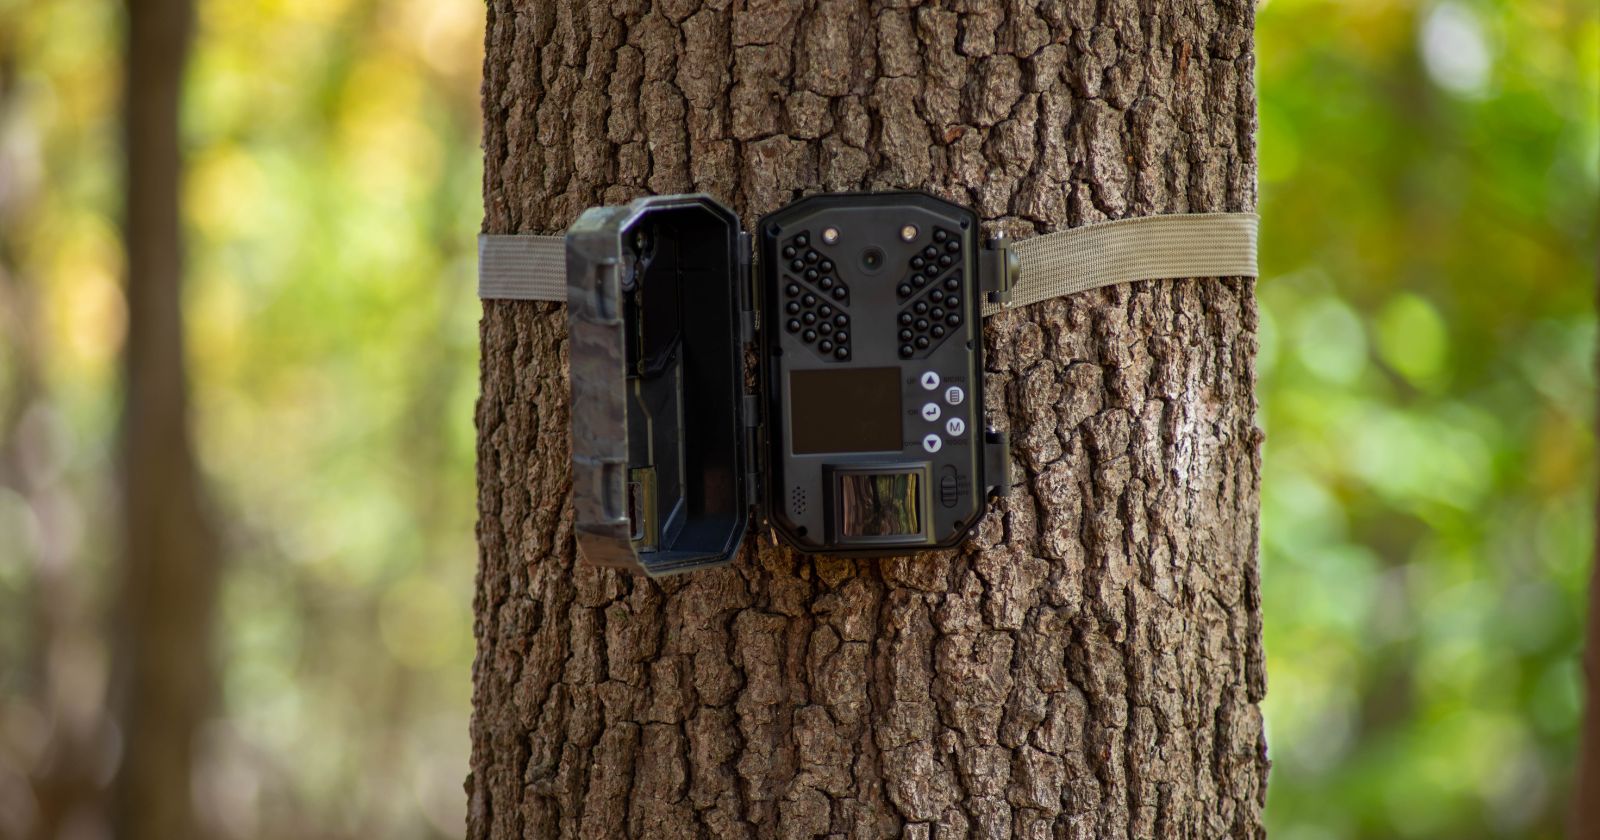
Nylon straps are the easiest mounting option. Simply wrap them around a tree or pole and attach the trail cam using the provided buckles. Ensure a tight, wrinkle-free fit so the cam won’t shift. Straps allow quick repositioning. But they can loosen over time on larger trees.
Brackets
Mounting brackets offer versatile and adjustable positioning. Attach them to a tree or post with lag bolts or ratchet straps up to 2 inches wide. Then bolt, strap, or clamp your trail cam into place using the slots. Brackets allow precision aiming and are super secure.
Tripods
Free-standing tripods keep your trail cam elevated and mobile. They work well in open areas without trees or posts. Look for models with adjustable height and pivoting legs for stability on uneven ground. Use tie downs or stakes to prevent tipping in windy conditions.
Tree Screws
Screw-in tree mounts are easy to install and offer fixed, semi-permanent positioning. Just twist in the threaded screw using pliers or a wrench, then attach your trail cam directly. Great for mature trees in established feeding areas.
Step 3: Mount the Camera at the Optimal Height
Mounting your trail cam at the right height for your target species improves results. Use these guidelines:
- 3-4 feet for small animals like coyotes, foxes, bobcats.
- 4-5 feet for deer, elk, and medium-sized game.
- 5-6 feet for large animals like moose, bear, and cattle.
- 10-12 feet to capture a wider field of view over trails.
- 2 feet or lower when monitoring game feeders and bait stations.
Adjust as needed based on ground terrain and vegetation that may obstruct the view. You want clear line of sight to where you expect animals to appear. Test different heights to determine what works best for each location.
Step 4: Angle and Position the Camera
Once mounted, precisely angle and point your trail cam to frame the desired view.
- Position cameras at a slight downward angle to minimize backdrop and make subjects stand out.
- Avoid aiming cameras across valleys where animals appear very small.
- Set up multiple cameras to cover different approach angles. Animals don’t always follow expected trails.
- Point cameras north or south when possible to avoid intense sun glare.
- Arrange the camera parallel to game trails rather than head-on for easier identification in footage.
- Clear any obstructing branches, brush, or grass from the field of view.
Use the camera’s setup mode to take test shots and fine tune positioning as needed. Pan, pivot, and recheck until framing and focus are optimized.
Step 5: Secure and Camouflage the Camera
Use the security features built into your trail camera and add some basic camouflage to conceal it:
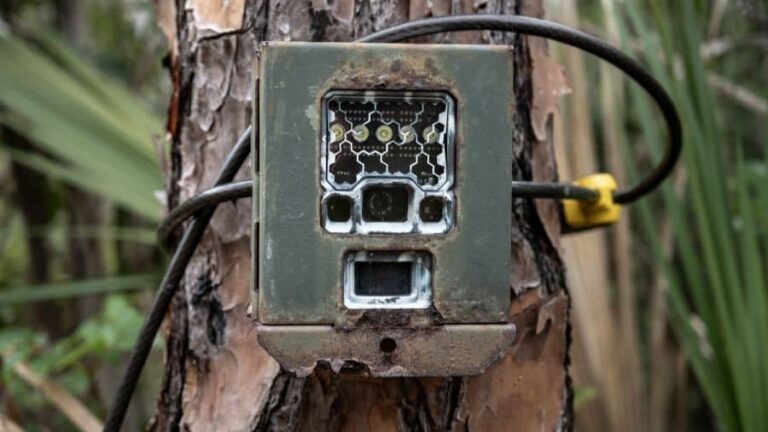
- Lock trail cameras to the tree using Python cables and master locks to deter theft.
- Drape natural vegetation over the camera to mimic your environment and disguise the shape.
- Wrap camo tape around adjustable mounting poles to minimize visibility.
- Spray paint the camera a neutral color to match trees or terrain if needed.
- Secure external batteries/power cables high up or underground to avoid damage.
Effective camouflaging prevents shine, reflection, and unnatural shapes that may spook animals or attract thieves. Take time to blend the camera into the surroundings.
Step 6: Test and Adjust the Trail Camera
After mounting, turn on the trail cam and take test photos to ensure proper setup.
- Check that images are level, properly framed, and in focus.
- Confirm the trigger sensor is angled effectively to detect passing animals.
- Ensure lighting is sufficient for night photos or make IR flash adjustments.
- Make small corrections to camera height, angle, or direction if needed.
- Recheck camouflage and add more veiling if the camera is obvious in images.
Fine tune until satisfied the trail camera is dialed in for optimal performance. Periodically check settings and positioning as vegetation and lighting conditions change over time. With strategic placement and angle, your trail camera will deliver outstanding results all season long.
Following this mounting process removes guesswork and helps any model trail camera reliably capture incredible wildlife footage. Take your time to find prime locations and don’t cut corners on camouflage or security. Proper setup is rewarding when you end up with stunning images of animals in their natural habitats.
Frequently Asked Questions
How do I mount a trail camera high up in a tree?
Use an adjustable pole mount or ladder to reach heights over 8 feet. Clamp the mount to the tree, then securely strap or bolt the camera.
What is the best way to mount a camera to a wooden fence post?
Use sturdy ratchet straps or u-bolts to firmly attach a mounting bracket to the post. Then fasten the trail camera to the bracket.
Should I grease the threads on a tree screw mount?
Yes, applying grease to the threads makes it easier to screw them into the tree and can prevent seizing up over time.
How often should I check my mounted trail camera?
Plan to check and test your trail camera at least every 2-4 weeks to swap memory cards and batteries as needed.
Can I improve stability by tying off my tripod/pole mount?
Yes, running guy wires from the mount to stable anchors like large rocks or trees helps prevent tipping in windy conditions.