9 Best Places to Put a Trail Camera
Trail cameras are remotely operated cameras, meaning that you do not have to be present to use it. New trail camera users like homeowners, hunters, explorers, and wildlife enthusiasts often struggle to find the perfect place to mount or hang up their cameras. So, where are the best places to put a trail camera?
The best places to put your trail camera for security would be where people frequently access. For animals, it would be close to a water source, food source, bedding area, old or abandoned building, linking trail road, back yard, fences or farm gates, ditches or drainages, marsh edges, and mock scrapes.
Getting your picture-perfect photo of burglars or trespassers can be difficult because they will be naturally careful and evasive. Animals are easier to record because even in their territory, they can be attracted by scent and sound. In the remaining part of this write-up, we would be looking at the 9 best places to put up your trail camera and give you some tips for setting up that camera; let’s roll!
9 best places to put a trail camera
The principle behind the use of trail cameras is to discretely and remotely monitor targets once their motion or body heat is detected.
They can be used for security checks (wanting to catch that individual entering your property or scare them off). They can also be used for research purposes especially by wildlife enthusiasts or experts. They can also be used by hunters to monitor bucks and other wild animals for the hunt.
However, getting a trail camera is the first step to record whatever you want on the camera. One of the most important things you would need to do after purchasing it is to place in the right spot that would give you a good glimpse of what you want to be monitored. For both new and old hunters, this section is all about giving you the best places to place your trail camera for better pictures and video results.
For home and general security:
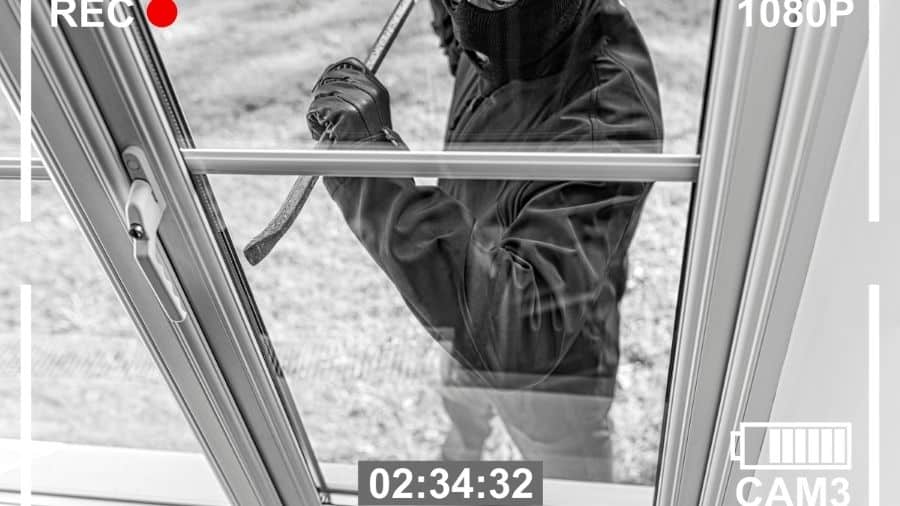
The best places to put up trail cameras for either home and general security will be where people frequently access. These places include entrance gates, open hallways, at entrance porches of buildings, around perimeter fencing, and around where valuables are kept. Most users also place them at mailboxes to capture images or record videos of mail thieves.
For game hunting/watching:
Interestingly, animals like deer can be quite intelligent and will often be spooked once they detect the trail camera. So expert care should be taken when placing a camera so that the whole exercise won’t be futile. Your best bet includes:
Close to a water source
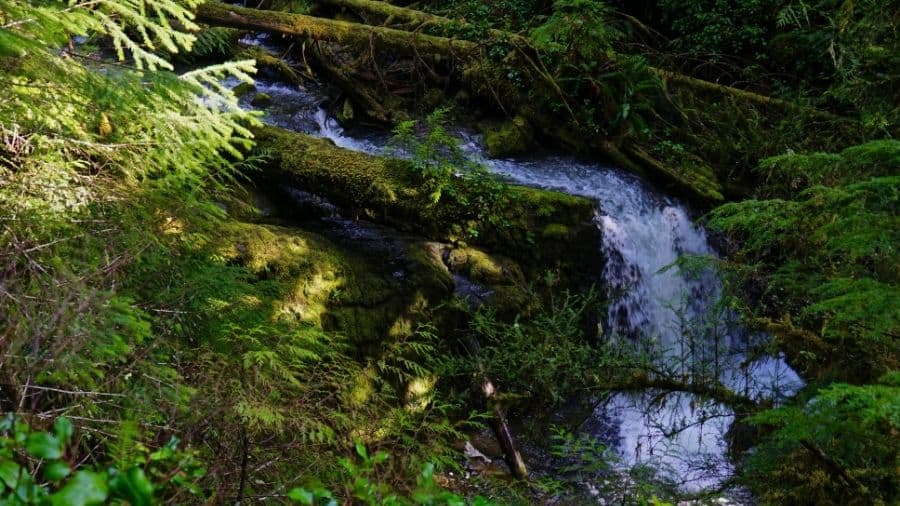
As popularly believed, water is life. Every living thing would crave water sooner or later, and just like humans, these wild animals you would love to get caught on your camera will most of the time be attracted to a water source. Water sources, in this case, may not be necessarily places with waterfalls because it might be harder to get a group of bucks there. The water should be one without too much rise and fall in its level.
Get your trail camera, move to a place with a large enough amount of water, and find a tree that might not be more than thirty feet away, and mount your trail camera on it. It might take a while to get that picture or video recording, but, patience is everything with hunting or studying these animals.
When going to water sources where animals like deer frequently visit, discreteness should be the watchword so you do not disturb the environment with your sound and, most especially, your scent.
The camera should be mounted properly and securely so you would have no reason to visit the site regularly unless to change a battery or replace the SD card inside the camera.
For the more expert and zealous hunters and explorers, a small water source could be created. These would also attract bucks and other animals and the interesting thing is that these small water sources are easier to monitor than the natural ones. Once animals have become used to the water source, they may be tempted to set up their bedding there thus increasing your chances of a good capture.
Close to a food source
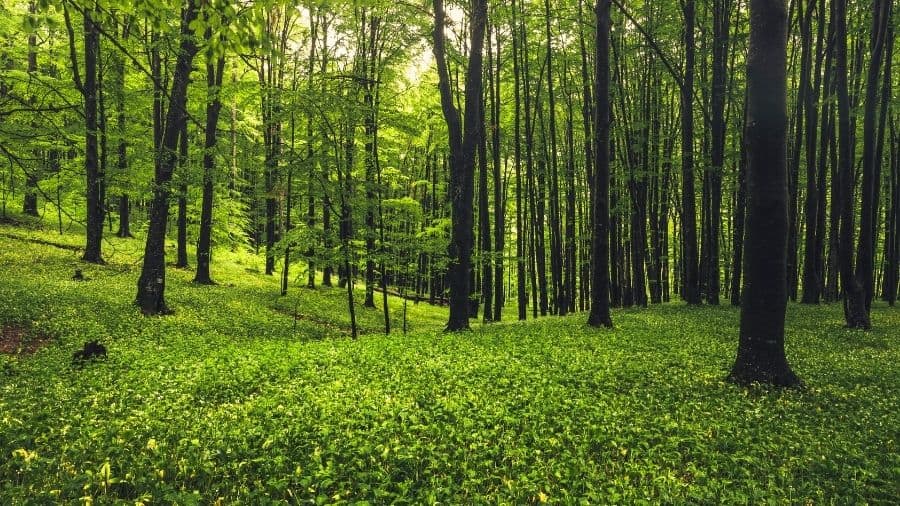
Like water, food is essential for these animals to survive. Deer would be looking for proteins as it is vital to growing their antlers as large as they can get. Finding the food source of these wild animals can be tricky and difficult because they could have more than one most of the time, but regardless they can be found.
At other times, if you are a hunter or an observer, you can set up a bait pile for these animals. Creating one or two bait piles for them would attract these animals to the site of your camera. The food bait you set up should be one they normally eat or smell. For example, putting up a hamburger and expecting a whitetail to come over would be a waste of time.
Research foods that whitetails or most of these wild animals would be attracted by and place them in a spot where they would normally walk past. The food piles should be very close to your trail camera but not too close to spook them off. Give it at most, a thirty feet distance.
Mount the camera on a tree or tripod, most preferably a tree, and wait. Patience is necessary with bait piles; do not visit the area very often or you will spook them and they will migrate from that area and your investment on that trail camera will be wasted.
However, before using food baits, you should find out the regulations of the state where you live as many states place strict regulations on using food baits for hunting.
Old or abandoned buildings
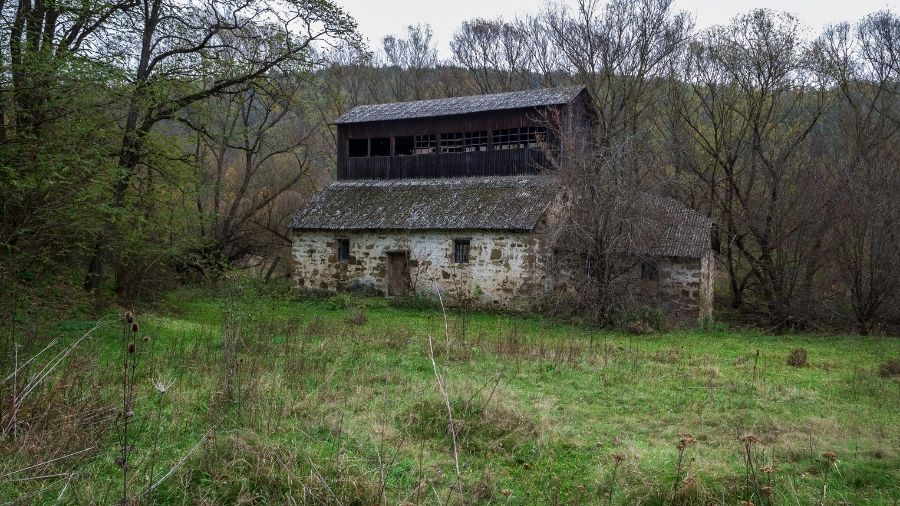
From various researches carried out, finding a buck in an old building or an abandoned building poses a very high chance. Some hunters and observers are not aware of this, but you are sure to see at least one mature buck in these areas. So you can mount one of your trail cameras there to give you a good picture or video of the animal.
During hot seasons or by summertime, whitetails, most especially the mature bucks, seek shelter from the heat, and they would often run into abandoned buildings or old houses that they feel no one occupies. This is why you get to see some wild animals lingering about in places like this. During the hunting seasons, especially when the hunting pressure begins to intensify, most whitetails especially the more mature bucks, tend to run from where hunters frequently visit.
These animals have successfully mastered the SERE program art which means to survive, evade, resist, and escape. You would often find them running into abandoned settlements for shade and safety, so setting up a camera in places close to places like these will yield results in no distant time.
Linking trail roads
Another good place to mount up a trail camera would be in an area where the trails of bucks or wild animals link; these roads or trails could be two or more. These linking trail roads would give the trail camera observer a way to watch whitetails or other wild animals from different directions to know their movement patterns. It would also give the hunter or wildlife expert information about a totally different group of animals that might be passing that crossroads.
So, setting up your trail camera in a central location having a view of the two or more trail roads would be great for catching a picture or video of the game.
When mounting up trail cameras on trees close to a linking trail road for wild animals, coming to extract the gathered information is always an interesting and exciting experience especially if you do not own a cellular trail camera.
Try not to come to the area where the camera was mounted too frequently because your scent would be easily detected even more than in an abandoned building by these animals, and you could lose them. Whenever you come to extract information from your camera, spend as little time as possible and take a scent remover along, if possible.
Your backyard
One place you may never have thought to place your trail camera would be in your very own backyard. If you stay in a place located close to a forest or wildlife, your trail camera might just be needed in your backyard. It is an even easier place for regular check-ups of the card’s recordings because your scent is already all over the plot, and since the animals keep coming, they don’t mind.
Sometimes too, food smell might be their attraction to your backyard. The usually quiet and reserved feeling of most backyards of buildings may also draw them in. Keeping or mounting that trail camera on the roof or a tree in your backyard would give you a good shot at wandering whitetails or other random wild animals.
However, every individual property is different; the amount of available food or shade at your backyard would be different from another, so for animals to randomly walk in, you may need to arrange or set up things in a way to attract them.
Fences or farm gates
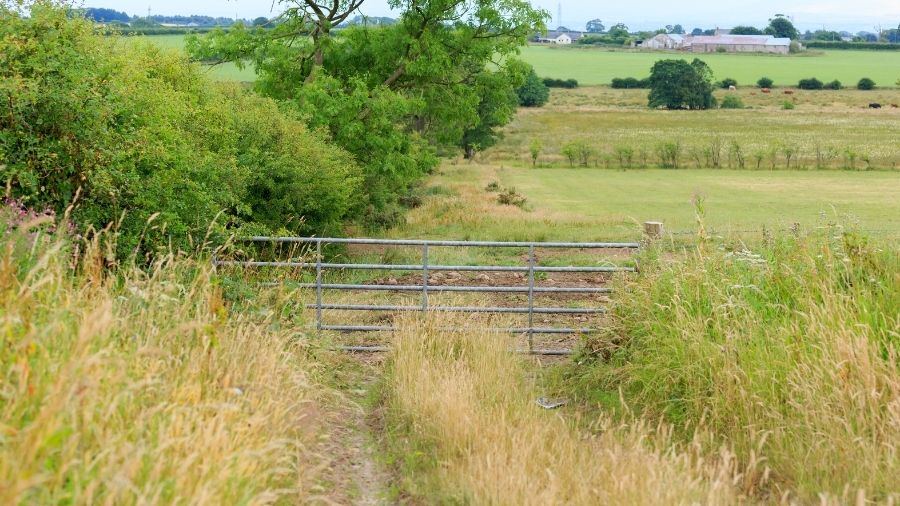
Placing your trail camera(s) on fences or by the open gates of farms is another way to get a good picture and video of wild animals. Deer or other animals that live on the other side of that fence would want to get through to your side mostly for necessity or just because of plain curiosity. Look for places having a broken-down fence; maybe by a fallen tree. Placing a trail camera there will get you a good view of a deer or other wild animals.
Ditches or drainages
Animal researchers believe that it’s very normal to see a deer bedding in a ditch or close to a drainage system. These wild animals try to get out of human residences and escape prying eyes. These drainage or ditch spots will serve as a protected area for them because most of the time, they get to see the hunter first before the hunter spots them. Cautiously and discreetly find a way to set up your trail camera in such areas and you would have a very good picture of them.
Marsh edges
Chances of you getting a picture or video on your trail camera of whitetails could also be possible at marsh edges as most animals love seclusion. This is a natural habitat for them – where marshes and hardwood would meet with other timber trees. You can use your GPS on a map to locate these lowland areas with marshes for you to discreetly set up your trail camera.
Mock scrapes
Deer are particularly fond of using mock scrapes of communicating with each other. It is more or less their email system. They normally urinate on the scrapes to deposit their smell or scents from their glands there and they will always like to meet there. Mounting up your trail camera in a mock scrape is another effective way for you to get a thrilling view of bucks. These sites can be able to attract up 90 percent of the number of bucks you will hunt.
Trail Camera Placement Tips
Placing your trail camera at the right position and right time can be confusing at times, but with tips on how to do it, you should be alright.
For security, all you need to do is to ensure to place it as discretely as possible and without the easy reach of targets. If they can detect it easily, burglars and trespassers will often change their minds and come back with better strategies to breach your security. They may also steal the camera itself or destroy it.
The placing and arrangement of your trail camera especially for hunters looking to watch/hunt whitetails or other wild animals would vary with the season. This is because there are always changes with the travel pattern, food sources, bedding areas, and shade with the change of the calendar. As a hunter or game watcher, keeping your trail camera on one spot all year long would not be advisable as the options of what you can capture will be limited.
Let’s delve into the different placement tips and set-ups for hunters during the different seasons.
During the rut season
This is the breeding season and for bucks, it is usually a careless one. They would usually be wandering about looking for a doe, which would make them an easy target for your trail camera. Placing your trail camera close by bachelor bucks would give you a better picture or video of them because they will often move less when they have found their doe.
Post-rut season
After the breeding season for these animals will usually be a good time to use your trail camera. Mount your camera on trees close by where the rut season happened and you would be able to get more pictures.
The Summer
This season would work best for your bait piles and mock scrapes. At this point, animals are more hungry and in search of food. You should find their food sources and place your camera.
Early Spring
During this season, there are more chances of getting pictures of bucks and does though you may need to attract them.
You would need attractions like salt to get them to, come to the site of your trail camera. This can be done with a licking branch and some attractive natural minerals that would arouse the buck or other wild animals’ interest.
When placing or mounting up your trail camera, there are certain dos and don’ts. These include:
- Be as discrete as possible:
When a wildlife enthusiast, an explorer, or a hunter goes out to the field to set up a trail camera, one major thing he or she must observe is discreetness. Movement should be done in a quiet stealthy manner. Random movements or visits to the site will make the animal keep tabs on your movements more than yours on them and they will often avoid the area completely.
A trail camera will be best placed in an area with easy access i.e. a place where one can enter and exit without creating undue attention to the surrounding wildlife.
Wearing a rubber glove and shoes would reduce your scent on the environment and the camera while you touch it. Also, one can take along a scent removal spray to clean both the camera and the area surrounding it.
- Location:
Although this is normal, you would have to find a very good location to place your camera. This location should overlook a food plot or watch the roads leading up to a food plot. If your trail camera is set up well, it will give you as a hunter or an explorer a proper understanding of your game’s movements, and then you can come up with a good strategy.
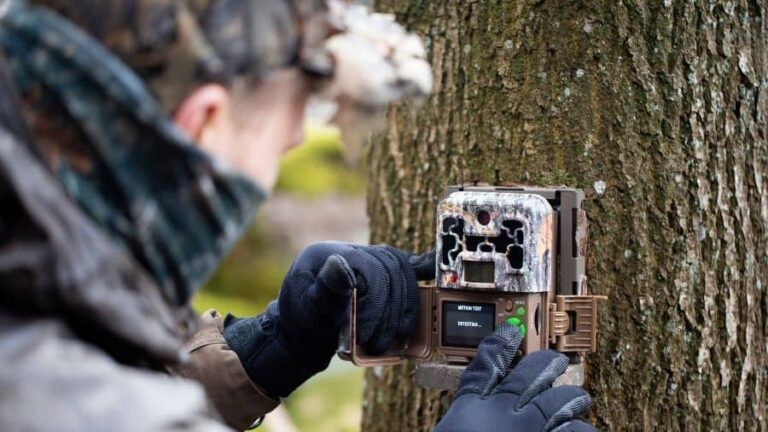
- Place your Trail Camera just high enough:
Some trail cameras users often believe that a white flash will spook an animal in the dark, which is true. The infra-red flash available in most modern trail cameras can sometimes alert the buck or other animals of the camera’s presence. Due to the ease of flash detection, trail camera placement on trees should be higher than a buck’s head while angling down, this would spook the buck the less. When a trail camera is mounted low, its field of view is more limited, and this low position puts your trail camera at more risk of being damaged. The most common threats would be theft. Losing a $200 to $500 (camera to theft can be a sickening experience. You can use the surrounding area to protect your camera by covering it with grasses or shrubs. You can also go for brands or models with camouflage or woody designs.
If this isn’t enough security, you can as well put up a sign that reads, ‘NO TRESPASSING; this property has video surveillance and trespassers will be prosecuted’. This kind of signage might scare off some thieves thereby keeping your camera safe.
- Aiming your Camera:
Aiming your trail camera is all about setting it at the right angle, as well as using the right configuration/customization settings. Setting the burst mode for instance is an easy configuration setting that enables you to take up to three continuous shots per trigger time. This will increase your chances of recording even fast-moving animals from as many angles as possible.
It is good practice to mount your camera on a tree or tripod at a height of ten to twenty feet, giving it that 45 degrees downward bend.
- Place the Camera facing North:
Placing your trail camera facing towards the north gives the best view of your captured shots. When you place it in a way that it faces directly at the sunlight, you get blurred out pictures or very bright, washed-out, and messed up images. Facing the trail camera northwards makes the camera be in front of the light, thereby making the sunshine its light on your target. Never face it due east or west; you will get a washed-out picture or video recording due to overexposure by the rising sun or sunset. Get a compass if you must and use it to locate the northern part of your surrounding to aid your placement.
- Easy access:
When placing or mounting up that trail camera, you would have to keep in my mind that you would need an easy access road to get that camera after it has recorded activities for a month or more. Don’t just go around a field or land mounting up cameras. Determine if your route to the place is the same route for your game to get there. If yes, you might need to get a new route or change the mounting location for your trail camera. Neglecting this rule will increase your chances of spooking your targets.
- Time interval setting:
When watching deer or other wild animals through your trail camera in an area such as their bedding areas or a water source, you might need to set the interval of your shots to a smaller or shorter time, like 30 seconds to 1 minute in order to get different pictures or videos of them.
- Cut down branches, leaves, or grass:
Once your trail camera is mounted as high as possible, you would want to make sure that some branches, leaves, or grass do not sway in front of your camera as they may deceive the Passive Infra-red (PIR) sensor. When this happens, the PIR sensor will interpret such sways as the movement of targets and will trigger the shutter to fill your camera memory or SD card with images of branches, leaves, or grass.
The bottom line when it comes to properly place your trail camera is that you must place it as discretely as possible whether for security or game watching/hunting.
Luckily the technological ingenuity of trail camera manufacturers is paying off as they are churning out more and more designs that blend in well with the surrounding environments whether indoors or outdoors.
The best brands and models among modern trail cameras have designs that even you that placed them will need to observe before you can detect them. Whenever you notice that remembering where you placed your trail camera is increasingly becoming a problem, you should consider geo-tagging the GPS coordinates of the location when mounting so that you can leverage on Google Map technology to find them later.
We advise you to continuously read more about trail cameras both on this site and on the buyer guide or user manual of any brand you want to purchase to get more specific information regarding how best to place them in relation to the other features and functionalities available on the camera. Doing this will keep you in a good position to have the best user experience so that you can have good value for your money.